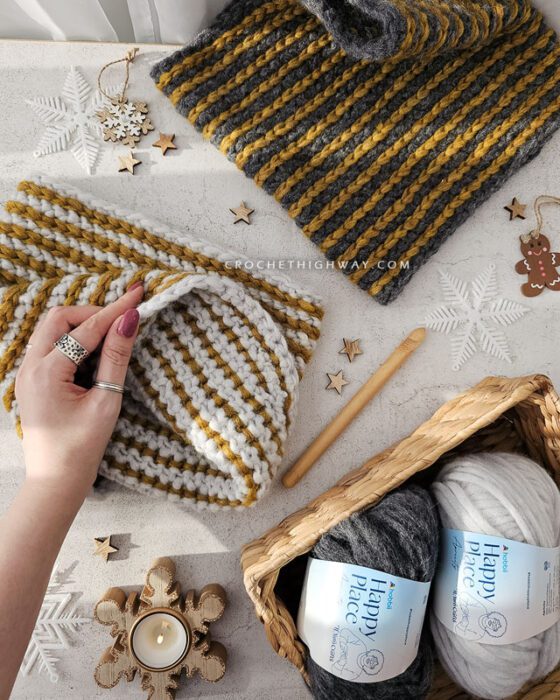
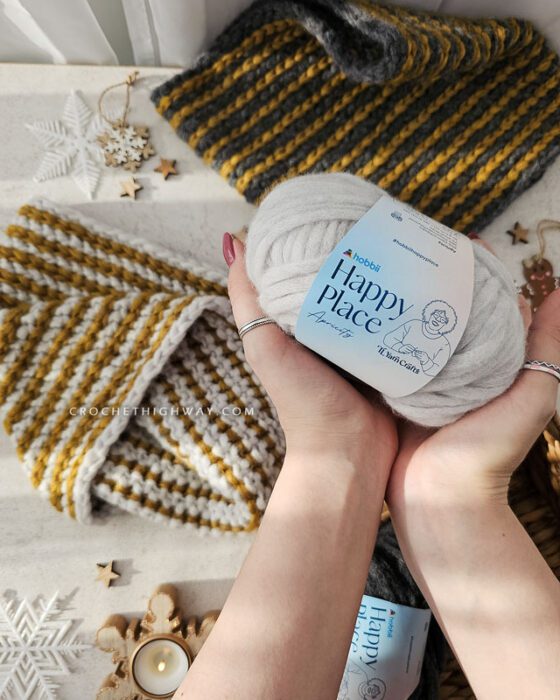
The Apricity Cowl
Free Crochet Pattern
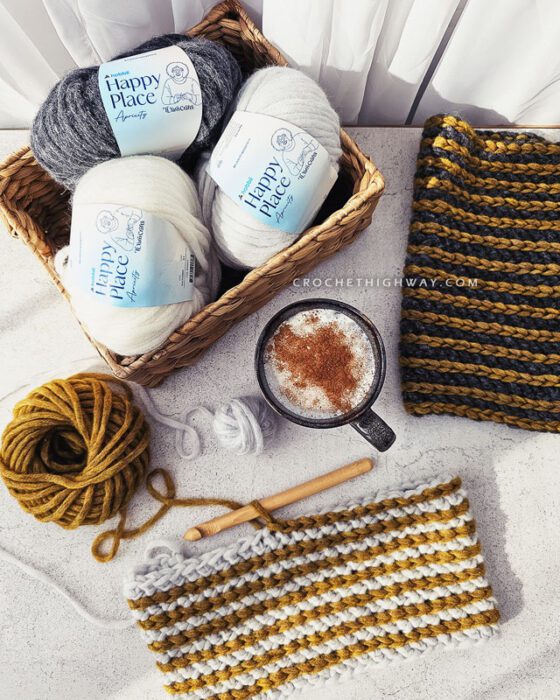
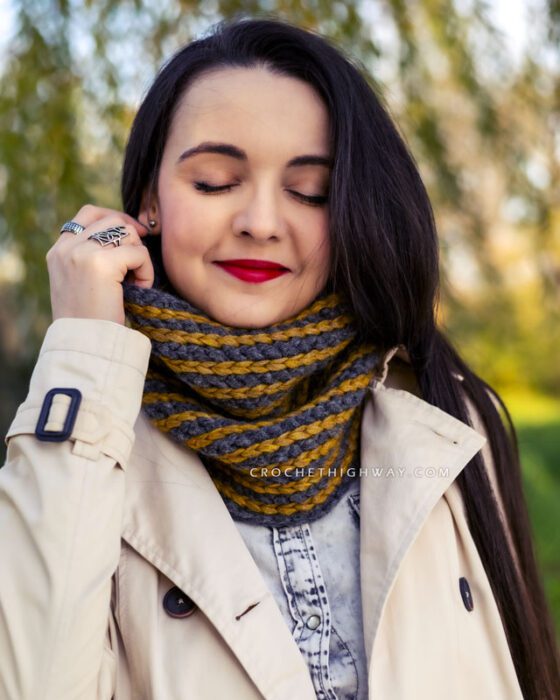
Wrap yourself in warmth with the Apricity Cowl – a reversible cowl with an effortless stitch
Disclaimer: Some links on this page are affiliate links. This means that, if you click through the links and make a purchase, I may earn a small commission at no additional cost to you.

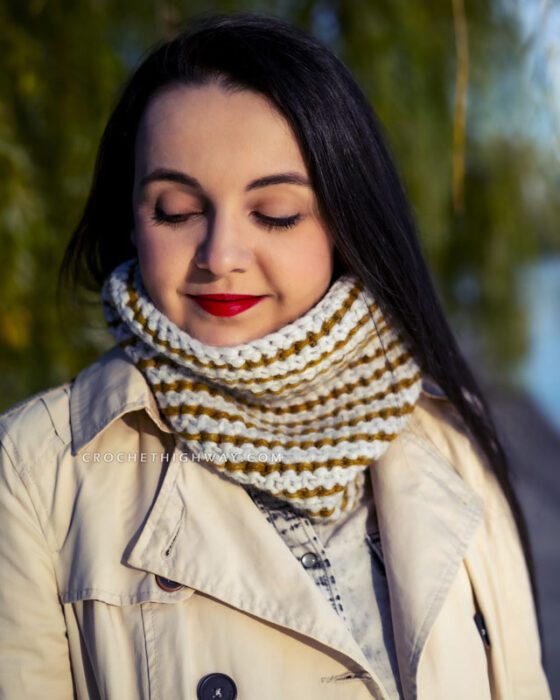
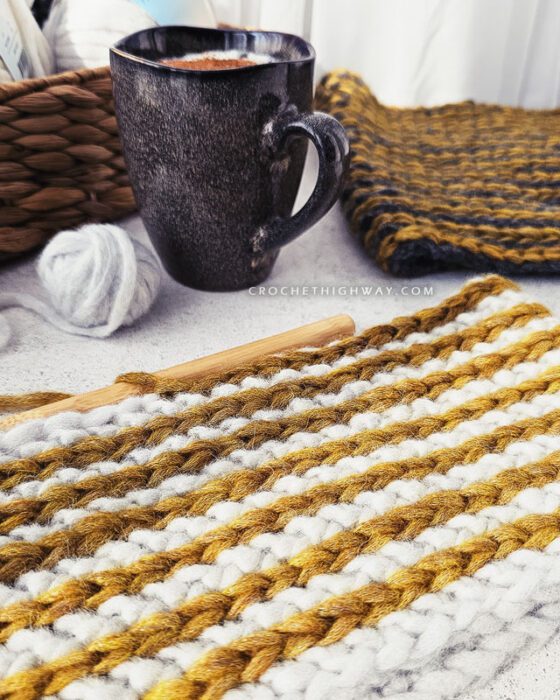
The Apricity Cowl
Winter is here, and so is your next must-crochet project: the Apricity Cowl – named after the poetic word for the warmth of the sun on a winter’s day.
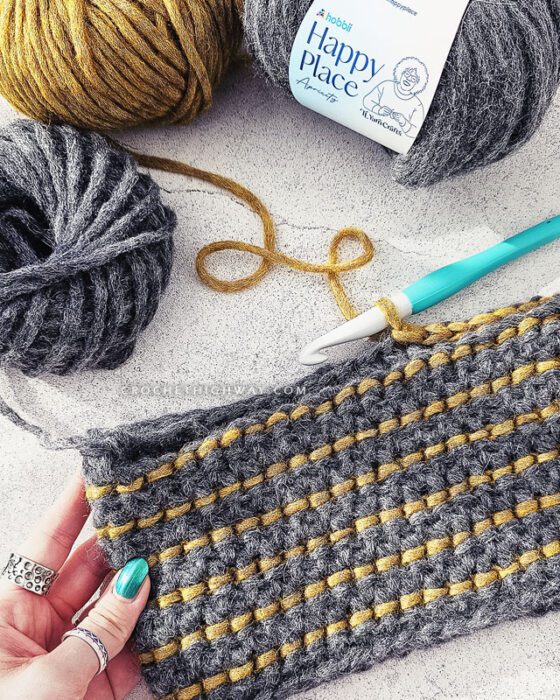
Designed with Happy Place Apricity yarn by Hobbii x TL Yarn Crafts, a super bulky, super luxurious yarn, the Apricity Cowl is a dream for chilly mornings and frosty evenings. The reversible design gives you two unique looks in one – effortlessly chic whether you’re running errands or cozying up by the fire.
The joy of making this cowl is as satisfying as wearing it! It works up quickly, making it perfect for those who crave instant gratification or need a heartfelt handmade gift. Choose a rich, jewel-toned yarn to add a touch of luxury or keep it neutral for a timeless piece that complements every winter outfit!
MEASUREMENTS
Cowl circumference: 25 inches or 64 cm
Cowl height: 13 inches or 33 cm
DIFFICULTY
Intermediate
MATERIALS
Yarn: Hobbii, Apricity, super bulky weight #6 yarn (65% alpaca, 28% polyamide, 7% wool; 131 yds/120 m per 50 g ball)
Main color (thick stripes on both sides): One sample shown in Stone (24), the other sample shown in Dove (23)
Contrast color (thin stripes on the WS): Both samples shown in Tawny Olive (06)
You can substitute any bulky or super bulky weight yarn you can meet gauge with, in at least two, highly contrasting colors. Animal fibers are ideal for a cozy cowl to keep you warm in the winter season. The pattern will also work with any other yarn weight. You simply have to adjust your hook size and start with an appropriate number of chains to reach your desired circumference.
Hooks: 12 mm (main gauge) hook or appropriate hook size for your yarn. A hook that is larger than your main gauge hook is also recommended for the foundation chain. I used my Clover Amours. I’m a tight crocheter, so you may have to go down in hook sizes.
Notions: Scissors, darning needle, stitch marker.
YARDAGE
Main color: 2 balls of Hobbii Apricity, or 185 yds / 200 m
Contrast color: 1 ball of Hobbii Apricity, or 70 yds / 75 m
If your yarn or gauge is different, your yardage may vary.
I’d LOVE to see your work, so be sure to tag me @CrochetHighway on Instagram and use the #CrochetHighway hashtag for a chance to be featured on my stories!
Join my Facebook support Group
I proud myself with writing ultra-detailed patterns for you, so that your crocheting experience is as smooth and seamless as possible. But whenever you have a pattern related question, my Facebook support group is the place to ask. There you can also share your WIPs and brag about your FOs with the community!
The Pattern
Construction
The Apricity Cowl is a reversible cowl that has a completely different look when turned inside-out. It is worked in continuous rounds as a tube entirely on the right side, without turning your work, nor joining your rounds. At the end of each round, you will drop the current color and pick up the next one, alternating the two colors each round.
The reversible stitch pattern is actually just a 2-round repeat that is super easy to memorize!
General notes
- The pattern uses standard US terminology.
- The main pattern is worked entirely on the RS, without turning.
- CH 1 at the start of a rnd does not count as ST.
- To change colors: Before switching to the next color, secure live loop of current color with stitch marker or pull it up high and place it on hold. Pick the next color up on your hook to start working the next rnd.
Stitch glossary
CC | contrast color |
CH | chain |
hk | hook |
lp(s) | loop(s) |
MC | main color |
prev | previous |
rep | repeat |
rnd(s) | round(s) |
RS | right side |
SC | single crochet |
SLST | slip stitch |
ST(s) | stitch(es) |
WS | wrong side |
YO | yarn over |
Special Stitches
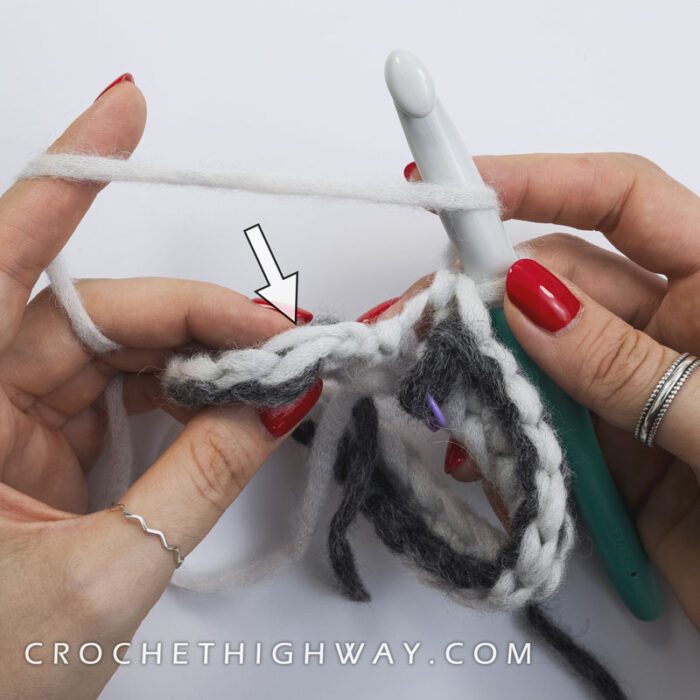
HHDC (herringbone half double crochet): YO, insert hk in indicated ST (photo 6), YO and pull up a lp (3 lps on hk; photo 7). Slip this last lp through the middle lp (2 lps on hk; photo 8). YO and pull through 2 lps (photo 9).
Gauge
8 ST and 8 rounds = 4 x 4 inches (10.16 x 10.16 cm) (blocked)
Directions
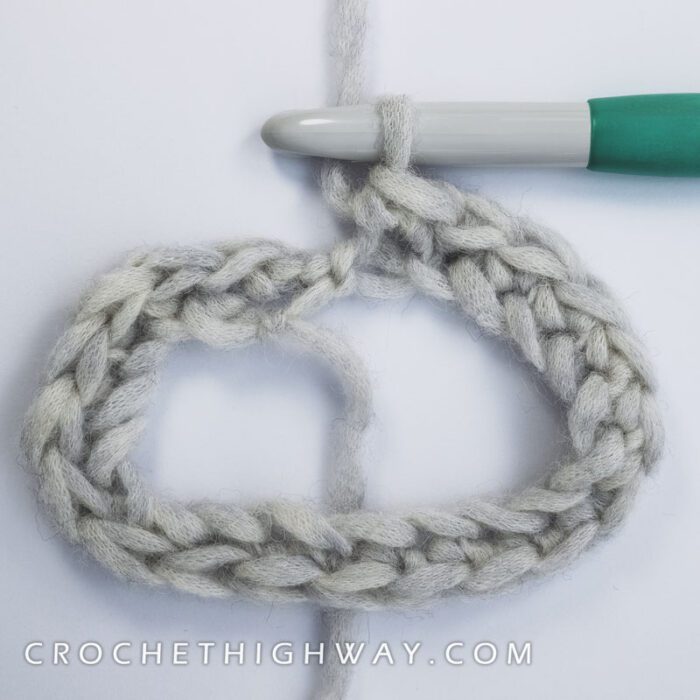
With MC and a hook that is larger than your main gauge hook (I used a 15 mm hook), CH 50 or any number of chains to reach your desired circumference and, without twisting the chain, SLST in back bump of first CH to form a ring. Switch to your 12 mm (main gauge) hook.
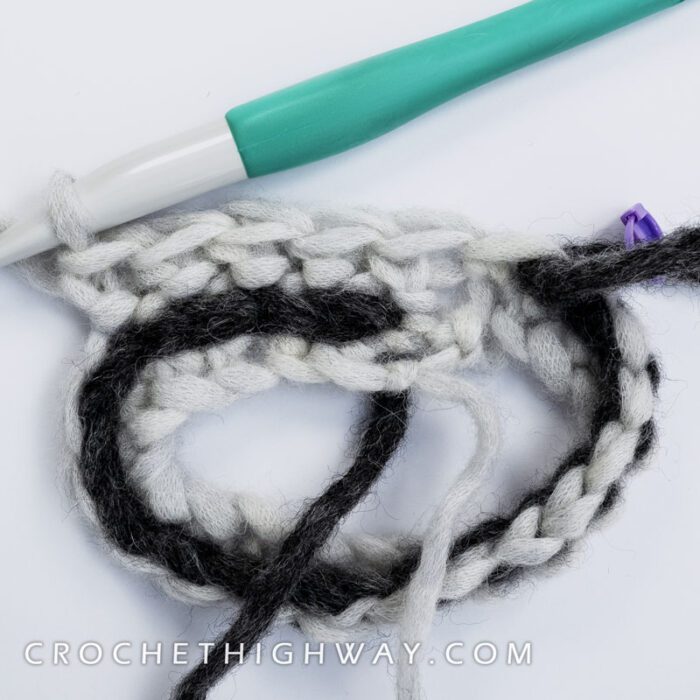
Setup rnd 1 (MC): With MC, CH 1 (does not count as ST), SC in back bump of each CH around (photo 1). Do not join. Put MC on hold. [50 SC]
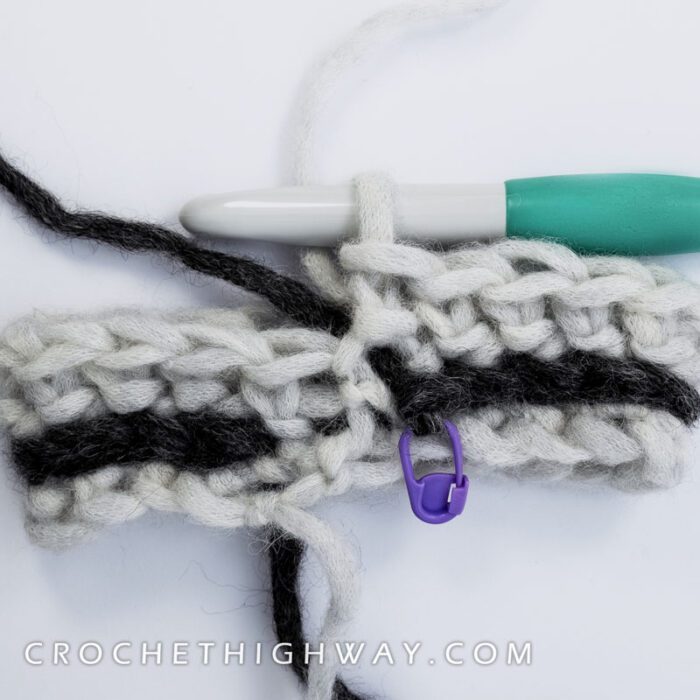
With RS of your work facing you, join CC via SLST in both lps of first SC from prev rnd (photo 2). This joining SLST counts as 1 ST.
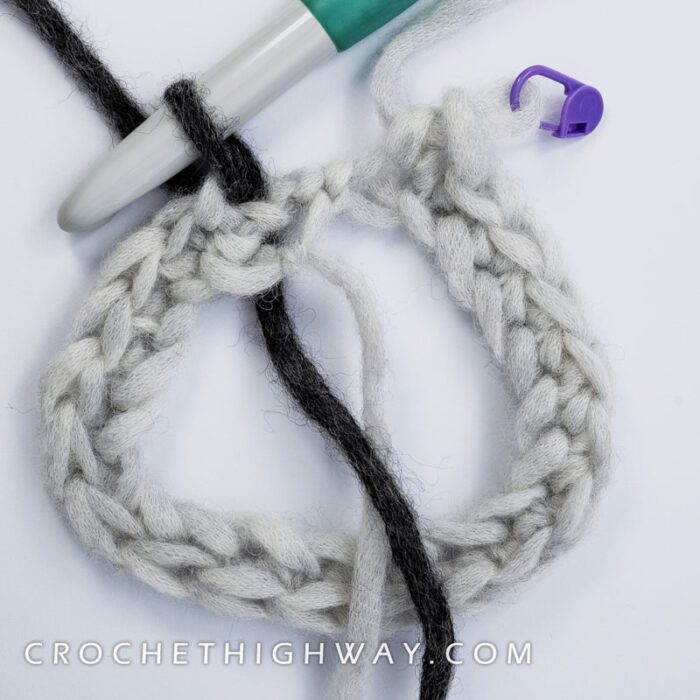
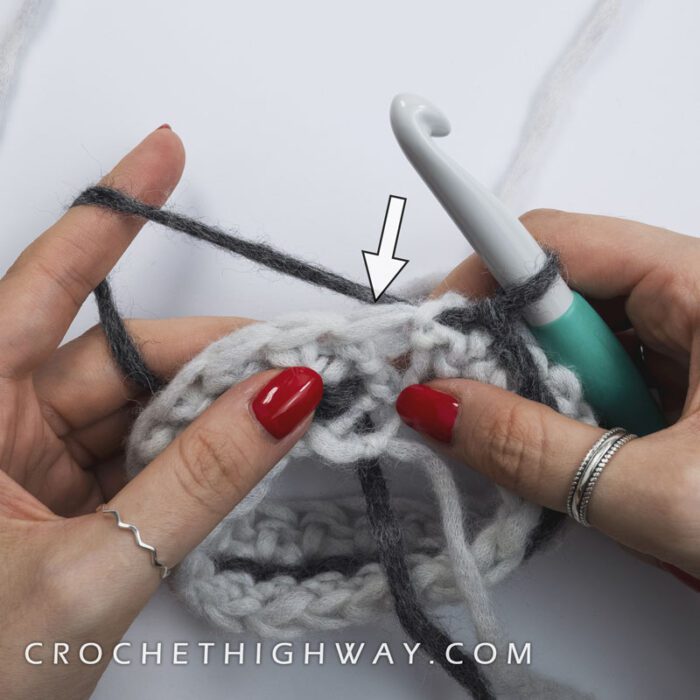
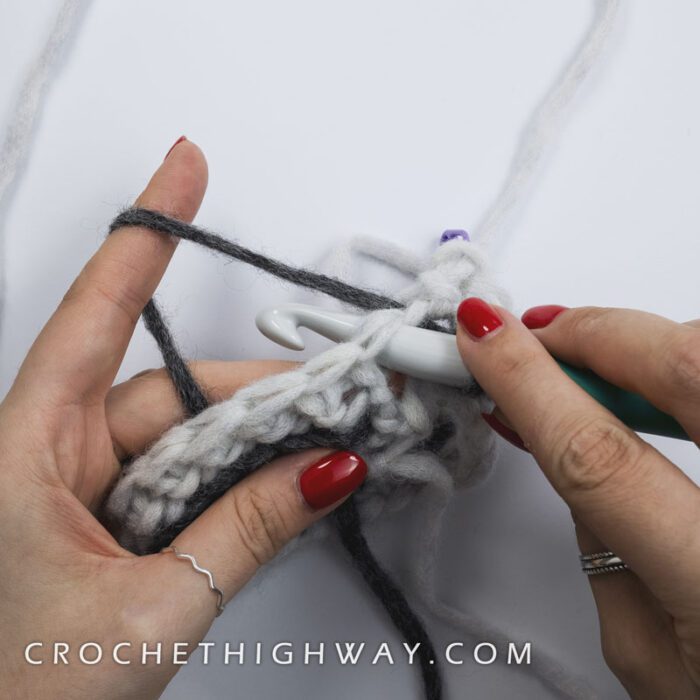
Setup rnd 2 (CC): With CC, SLST in next SC and in each SC around (photos 3-4). Put CC on hold. [50 SLST]
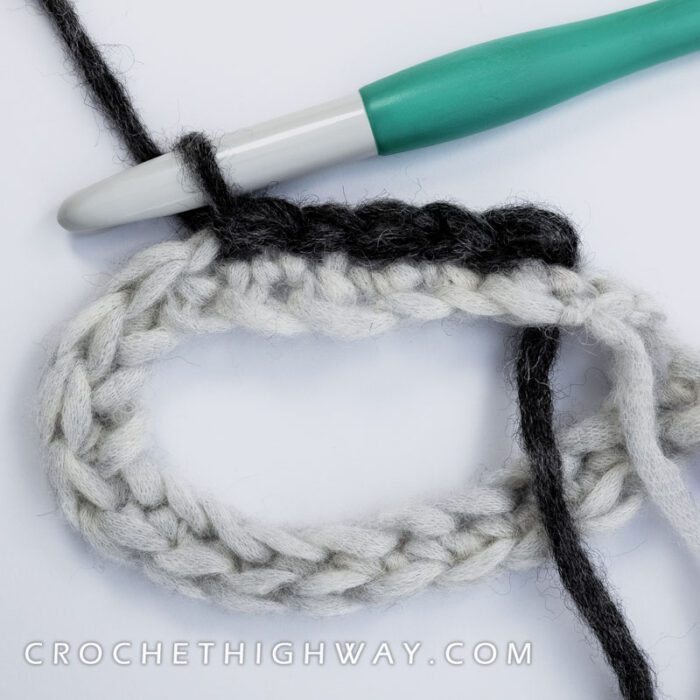
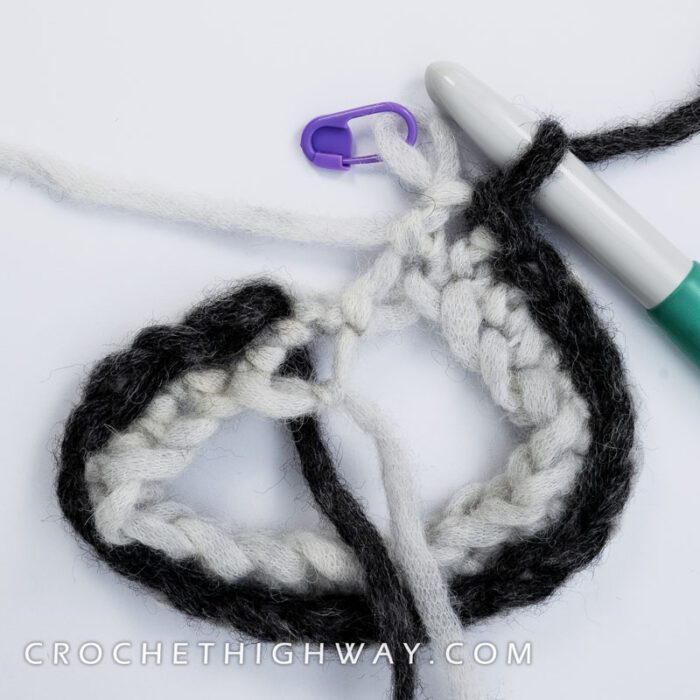
Rnd 1 (MC): With MC, HHDC (photos 5-9) in both lps of each SC from 2 rnds below around (photos 10-11). Put MC on hold. [50 HHDC]
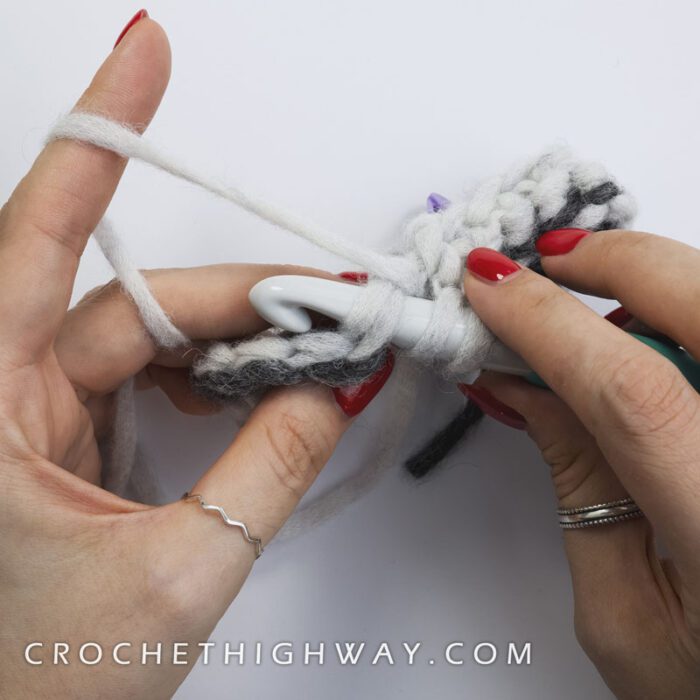
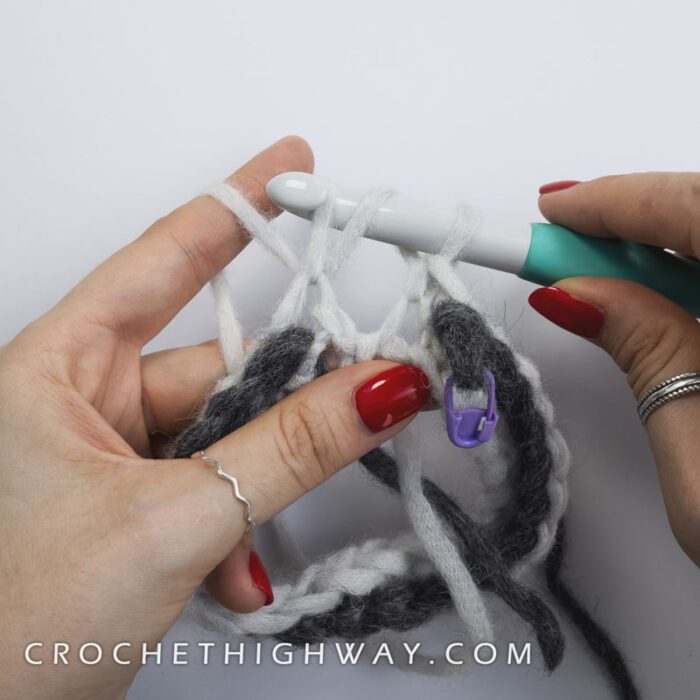
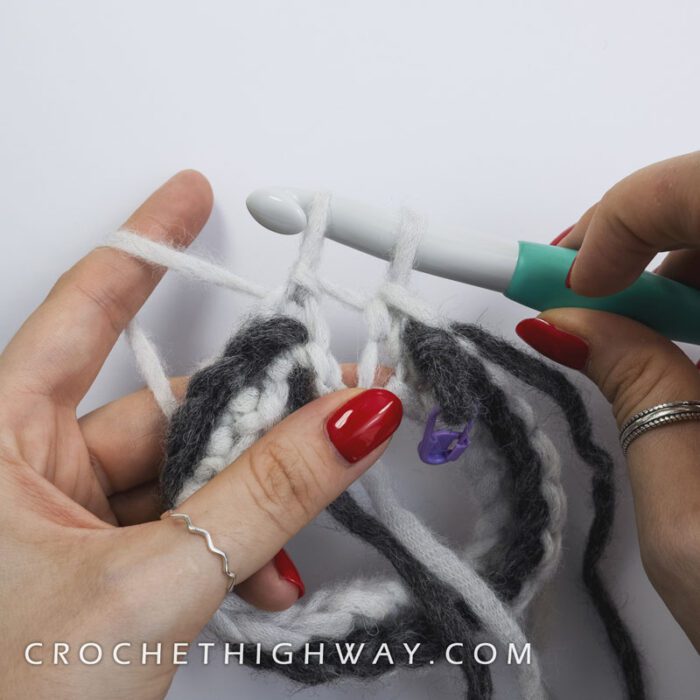
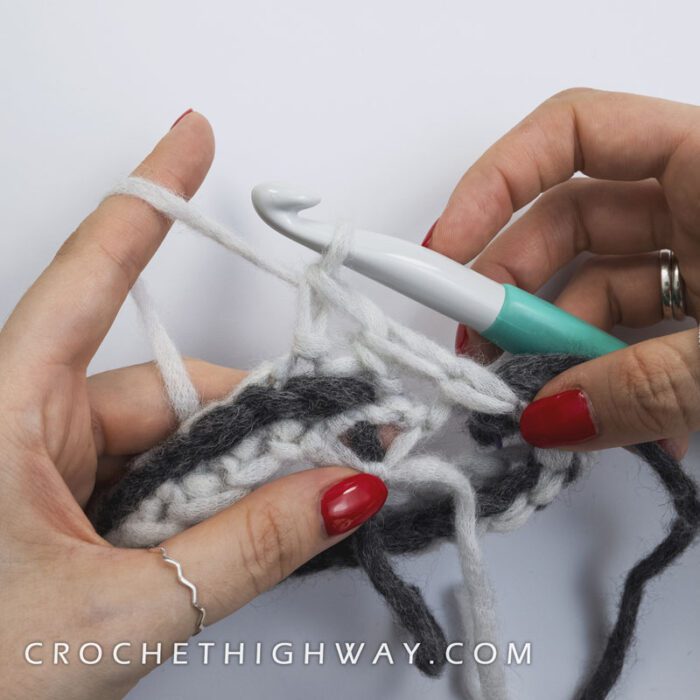
Rnd 2 (CC): With CC, SLST in both lps of each HHDC from prev rnd around (photos 12-16). Put CC on hold. [50 SLST]


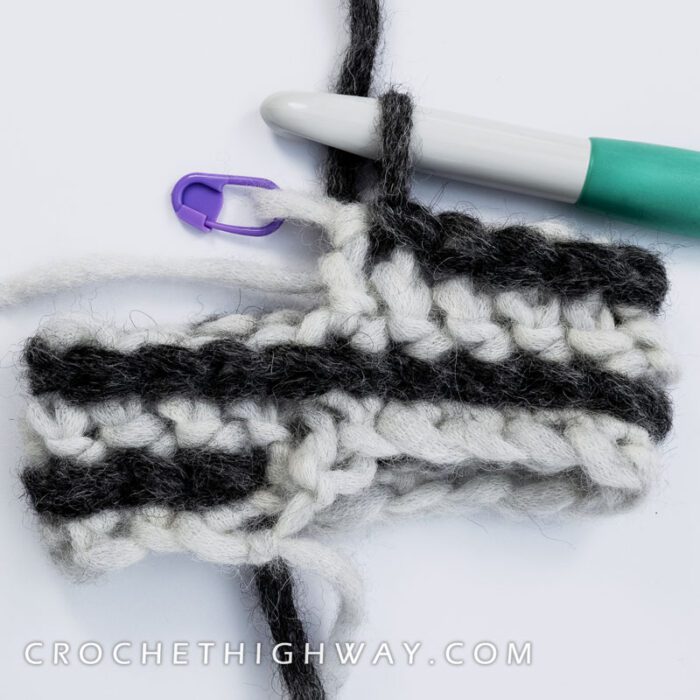
Rnd 3 (MC): With MC, HHDC in both lps of each HHDC from 2 rnds below around (photos 17-22). Put MC on hold. [50 HHDC]
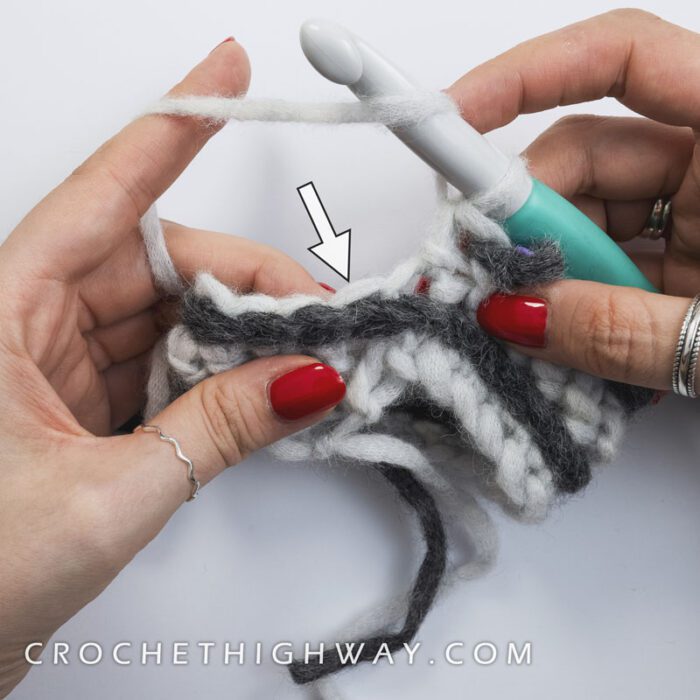
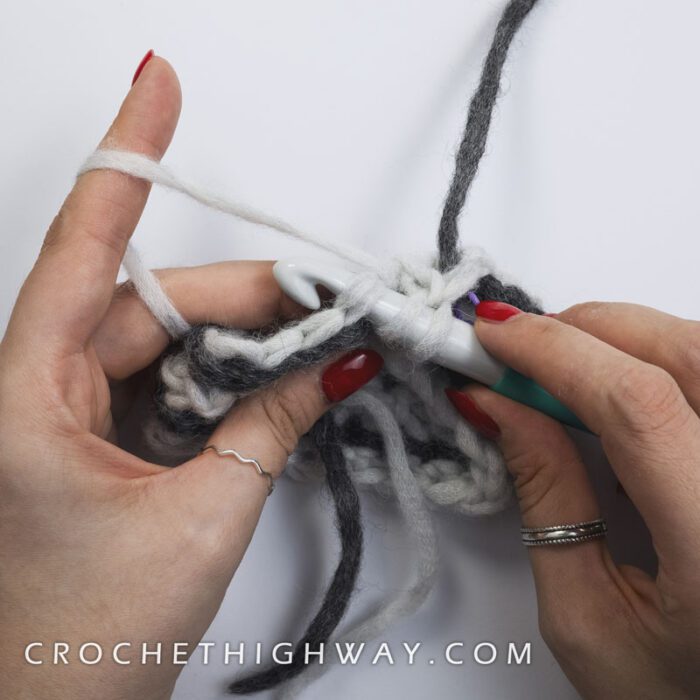
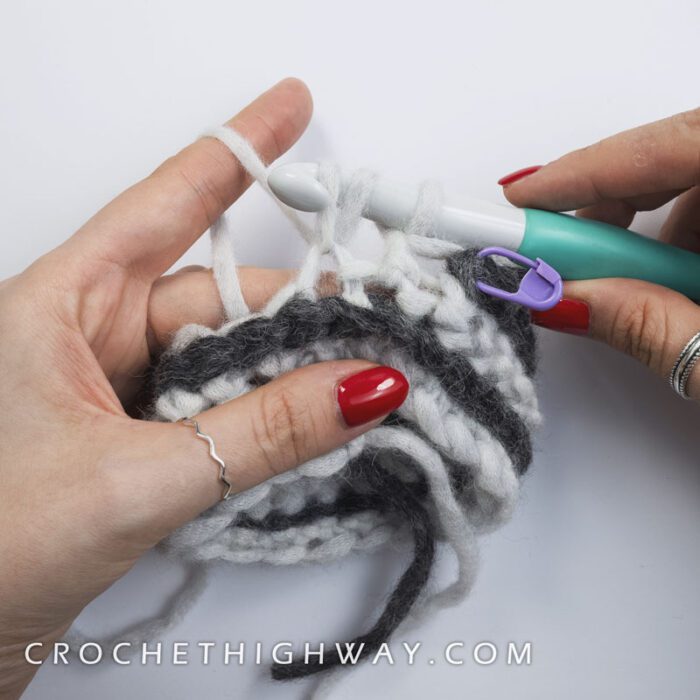
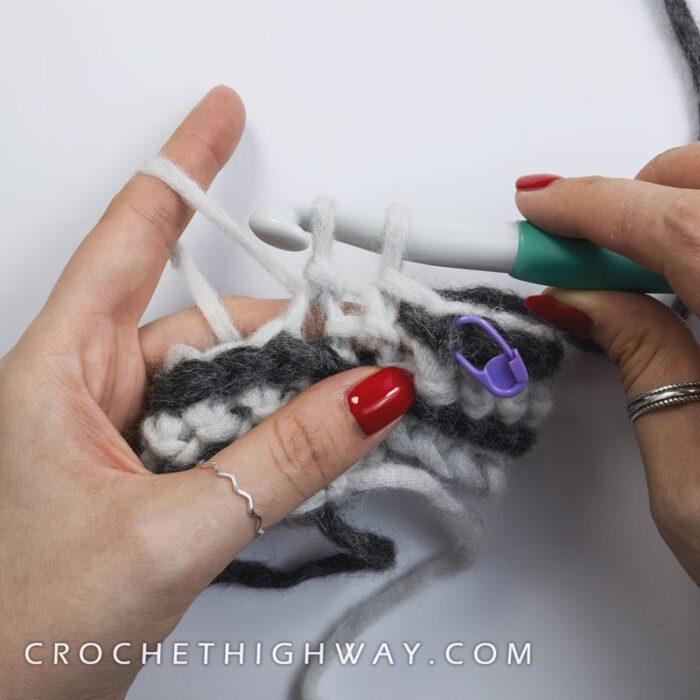
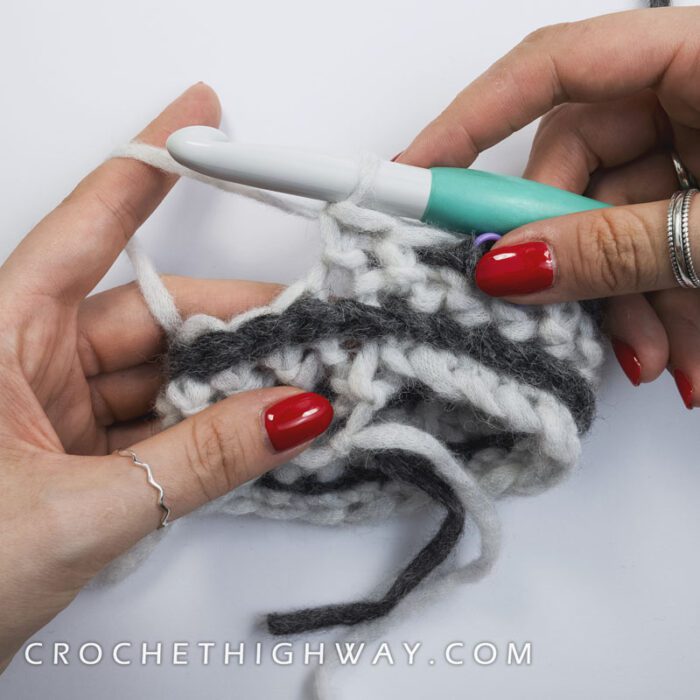
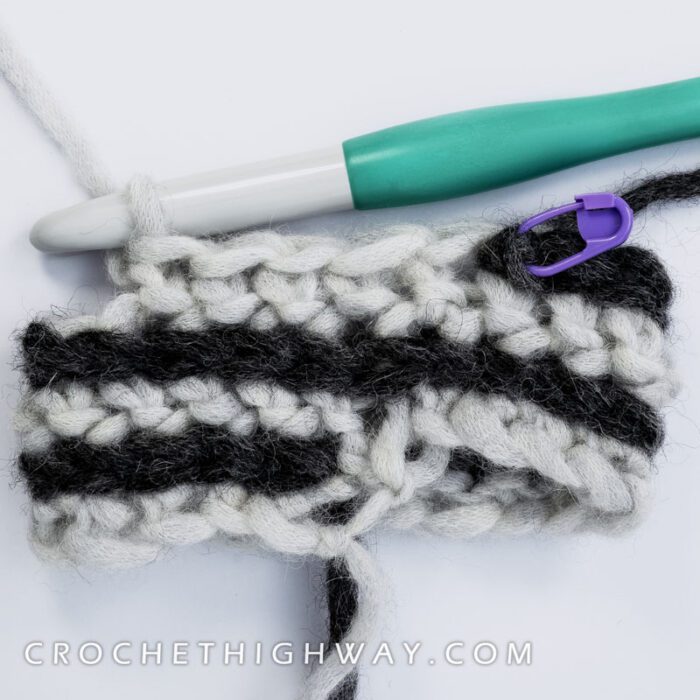
Rep rnds 2-3, x9 more times, then rep rnd 2 once more. You now have a total of 24 rnds including the setup rnds. After last rep, fasten off CC.
Note: As you go, the beginning of your rounds will shift opposite the direction of work compared to the beginning of your setup rounds. This is normal and happens due to the natural slant of the crochet stitches. On the final rep, make sure you keep crocheting up to the “original” beginning of the setup rounds, so that the end of the last round sits directly on top of the beginning of the setup round, as shown in photos 24-25.
Last rnd (MC): With MC, SC in both lps of each HHDC from 2 rnds below around. Fasten off MC (photo 23). [50 SC]
Rotate your cowl to start working into the foundation chains. With RS of your work facing you, join CC via SLST in both lps of the first foundation chain (photos 23-24).
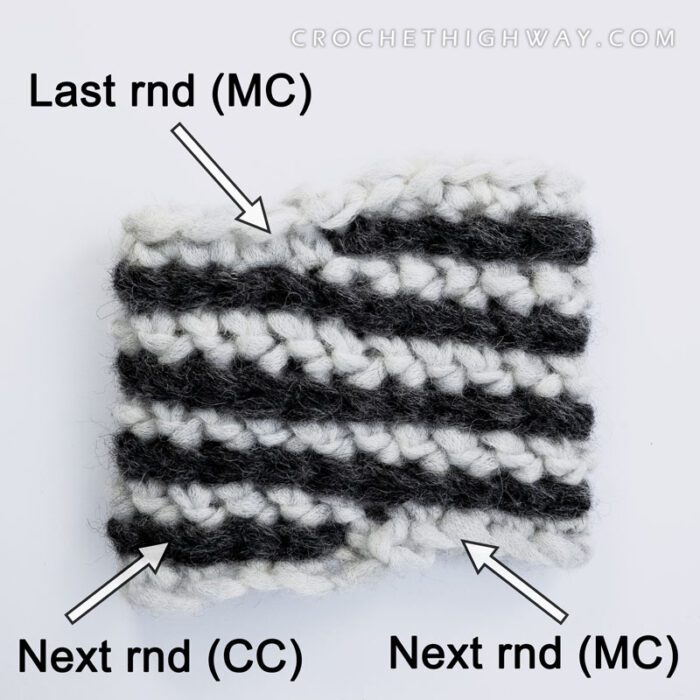


Next rnd (CC): With CC, SLST in both empty lps of each foundation chain around. Fasten off CC (photo 23). [50 SLST]
With RS of your work facing you, join MC via SLST in both lps of the first foundation chain (the same space where you had previously joined CC).
Next rnd (MC): With MC, CH 1 (does not count as ST), SC in both lps of each foundation chain around. SLST in top of first SC to join. Fasten off MC (photo 23). [50 SC]
Weave in all ends. Block according to fiber. The sample was gently steam blocked.
Congratulations! You just completed your very own Apricity Cowl. I hope you enjoyed making this just as much as I enjoyed designing it! Don’t forget to tag me @CrochetHighway and use the #CrochetHighway hashtag if you’re posting your work on Instagram – I would LOVE to see it!

