How to Master the Mattress Stitch

A guide on how to seam regular crochet and interlocking crochet pieces together using the mattress stitch

Seaming is primarily about stitching two pieces together, yes, but it’s also so much more than that! Done well, seams add structure, polish, and a professional finish that elevates your project. The right technique will give you joins so neat they’re practically invisible, all while ensuring your garment holds up beautifully to regular wear.

Table of Contents

I recommend you give this whole article a good read-through, but I also put together this table of contents for you so you can quickly jump directly to the topic you’re most interested in!

1. The tools

2. The Mattress Stitch: Quick Overview

3. The Mattress Stitch in Regular Crochet

4. The Mattress Stitch in Interlocking Crochet

    a. Seaming all four layers at once

    b. Separate seam for the MC and CC

    c. Picking up stitches around each panel

5. Bonus tip from my book

This post contains affiliate links that support the content on CrochetHighway.com. All opinions are my own.

1. The Tools

Before we get stitching, let’s gather our little toolkit:

• Yarn needle or tapestry needle: your best friend for both seaming and weaving in ends. I love the ones with a blunt and curved tip, which you can find on Amazon and Hobbii.

• A strand of yarn: usually the same yarn as your project, cut about two to three times the length of the segment to be seamed.

Sharp, high quality scissors: because nothing ruins a clean finish faster than a frayed end.

Pro tip! Dedicate a pair of scissors just for yarn. Cutting paper with them is basically yarn sabotage (dull blades = messy ends).

Sewing clips: these come in handy when you’re seaming larger panels as they help you keep the panels lined up from start to finish; use them to clip your panels together every few inches and remove the clips as you go.

• Your pieces of fabric ready and waiting to be joined together.

Pro tip! Always block your panels before seaming, as this makes the process smoother and the result neater. I also always recommend giving your project a final blocking session after you’re done seaming, as this relaxes the seams and makes everything look nice and tidy (if you need a refresher on blocking, check out my full blocking tutorial).

2. The Mattress Stitch: Quick Overview

The Mattress Stitch is my all-time favorite way to get a seam that’s neat, flat, and almost invisible. It’s magic for both regular and interlocking crochet, and bonus: it’s simpler than it looks.
I’m not a natural-born seamstress. But this version of the mattress stitch? Foolproof. No fancy maneuvers, just a back-and-forth rhythm that feels almost meditative. You’re basically “lacing up” your crochet pieces, weaving a strand through each edge in turn until the two lie flush, snug, and smooth.

Why I love it:

  • It works like a charm on tricky row-ends (the bane of my existence!)
  • It lies flat and doesn’t add bulk to the fabric
  • It looks neat from both sides, which is perfect for projects like interlocking crochet where both faces will purposefully be on display!

3. The Mattress Stitch in Regular Crochet

Let’s break it down step by step. In the examples below, I’ll be using a yarn of a contrasting color so you can properly see the seam.

Line things up. Place your two panels side by side, edges aligned. For row-ends, match up those little bumps from turning chains.

Photo 1

To start the seam, insert your threaded needle at the point where you want the seam to begin. In this example, I attached a new piece of yarn for the seam, so I secured it with a knot and made sure I left a starting tail that’s long enough to be easily woven in at the end. But if you’re using a tail that you left previously, then even better, as you’ll seam and weave at the same time!

Photo 2
Photo 3

Insert your needle into the first available space on the opposite panel, going in from the outside of the panel itself and coming in towards the center of the panel. Pull through.

Photo 4
Photo 5

Then insert your needle back into the corresponding space on the first panel, again going in from the outside and coming in, and pull through.

Photo 6
Photo 7

If you were seaming along the tops of the stitches (or the empty loops of a foundation chain across the bottom of your piece), you would insert your needle under the two loops of a stitch (or foundation chain) on one panel, pull through, then do the same with the matching stitch on the other panel.

Repeat these steps a few more times.

Photo 8
Photo 9
Photo 10
Photo 11

Every few inches, gently pull the yarn to close the seam while pinching the other end with your fingers. Watch as your criss-crossed thread disappears into a nearly invisible join! When using thread that’s the same color as your project, you’ll really have a hard time noticing it in the seam.

Photo 12
Photo 13
Photo 14

Remember: Tension is everything! Try to keep it nice and even. Too tight and your fabric puckers (see an exaggerated example in the next photo); too loose and the seam looks sloppy. Think “snug but relaxed”, like tying your shoelaces, not corseting a dress.

Photo 15

Here’s the completed seam from both sides: nice and flat and bulk-free. You can see the dark blue yarn peeking through here and there but remember that you’ll be using the same color yarn for your actual seam!

Photo 16
Photo 17

4. The Mattress Stitch in Interlocking Crochet

The mattress stitch in interlocking crochet goes the same way as in regular crochet, with a few extra considerations you should keep in mind.

Firstly:

All my interlocking crochet patterns that are worked in panels have the same number of stitches on each layer. This means that the edge stitch on both MC and CC layers will always be a double crochet (or a beginning chain that counts as a double crochet). These two edge stitches always overlap neatly along the sides of your piece. When seaming in interlocking crochet, you should aim to sneak your needle between the two layers, catching a loop from the post of each stitch along the edge.

Secondly:

Instead of pulling the yarn tight after a long stretch of a few inches like you would do when seaming regular crochet panels, in interlocking crochet you should close the seam every couple of stitches. With multiple layers in play, this prevents ruffles and keeps everything lying flat and smooth!

Below are my top 3 favorite ways to seam interlocking crochet panels together.

a. Seaming all four layers together at once

I’m starting off with this method because it’s the quickest and it produces beautiful results.

In this example (photos 1a–14a), I’m inserting my needle through both MC and CC loops from the next stitch on one panel, then through I’m repeating the same steps on the other panel. Both MC and CC layers are seamed together simultaneously, always picking up loops from inside the interlocking rows on each panel.

Photo 1a
Photo 2a
Photo 3a
Photo 4a
Photo 5a
Photo 6a
Photo 7a
Photo 8a
Photo 9a
Photo 10a
Photo 11a
Photo 12a
Photo 13a
Photo 14a

Examples of patterns where I used this method are the Tic Tac Toe Cardigan and Wavelength Jumper, both featured in my book, Reversible Crochet Sweaters.

b. Separate seam for the MC and CC

This variation of the mattress stitch takes longer to complete, but in my opinion, it generally produces a slightly better-looking seam because each layer is seamed using its own color.

In this method, each layer is seamed separately: the main color layer on one panel is seamed to the main color panel on the other panel (using a thread of MC yarn), and the same with the contrast color (using a thread of CC yarn).

In this example (photos 1b–7b), I’m inserting my needle through the MC stitches only, always going in from the outside and catching threads that are “inside” the interlocking layers. The CC layers on both panels are left untouched for now. Those will be seamed later using the same technique and a piece of CC yarn.

Photo 1b
Photo 2b
Photo 3b
Photo 4b
Photo 5b
Photo 6b
Photo 7b

I used this method in my Tic Tac Toe Snood pattern available in my webshop and on Ravelry.

c. Picking up stitches around each panel

The third (and most time consuming, but also the prettiest) method is to work a border round (I typically use single crochet stitches) along all sides of each panel. This method uses the same technique of picking up loops from in between the interlocking layers. You would then use these single crochet stitches from the border to seam the panels together. A more in-depth tutorial on this technique is coming soon to the blog!

I used this method in my Tic Tac Toe Sweater Lite pattern featured in my book, Reversible Crochet Sweaters.

5. Bonus Tip from my book

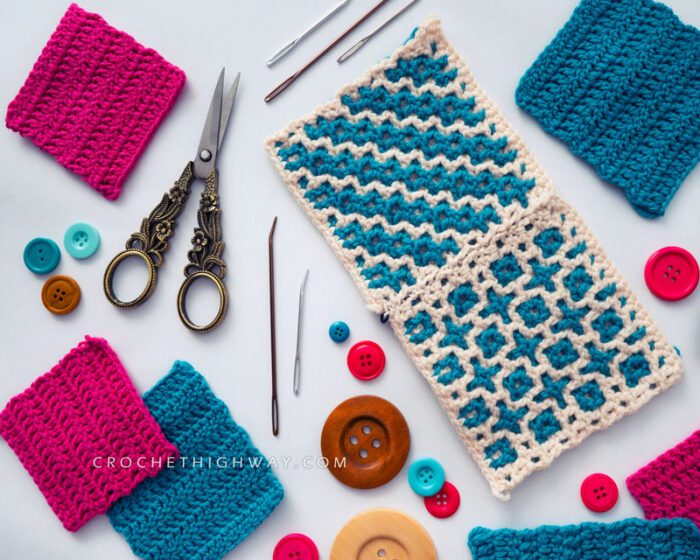
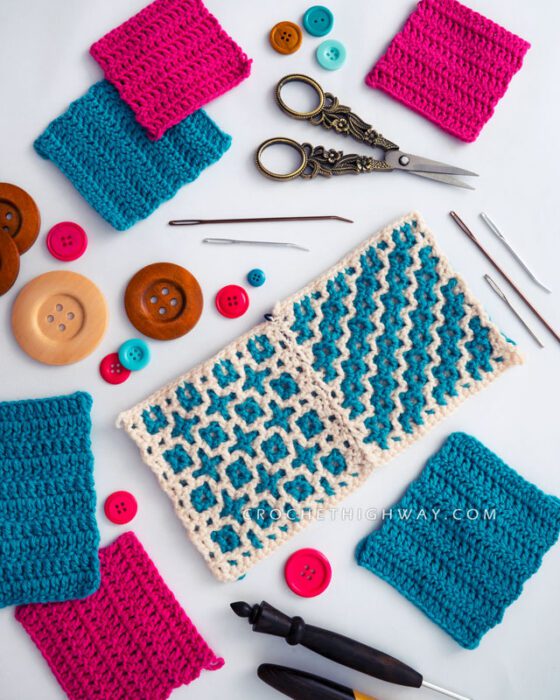
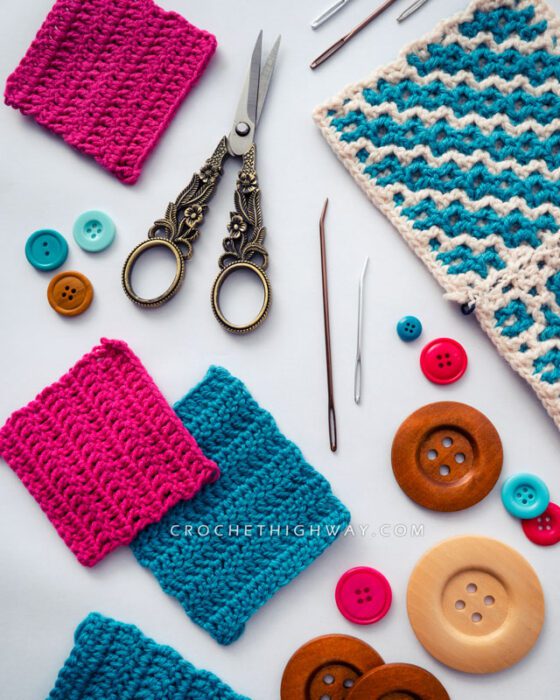
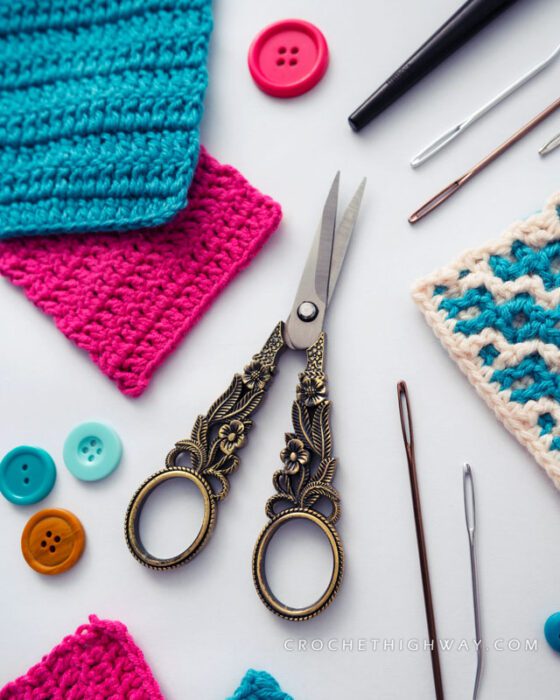
I’ll finish off this article with an extra tip on how to always seam evenly! Below is an excerpt from my book, Reversible Crochet Sweaters. Grab your copy from Amazon or other retailers.

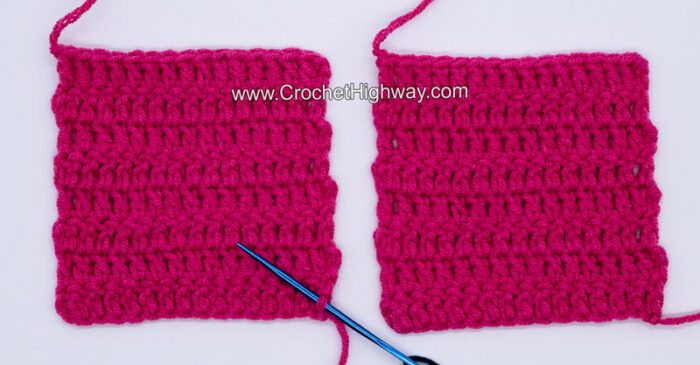
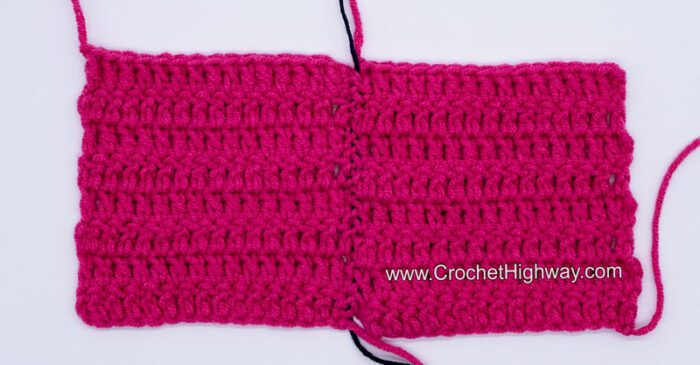
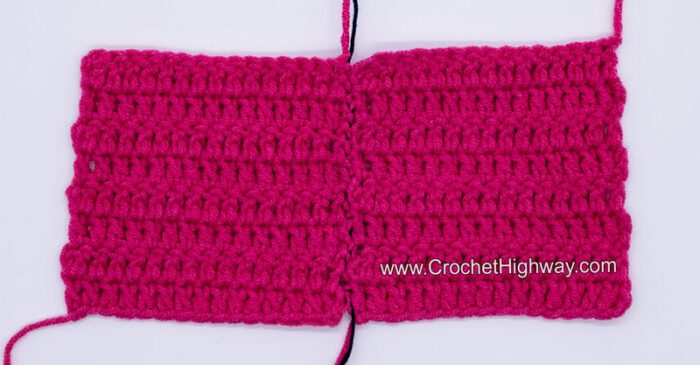
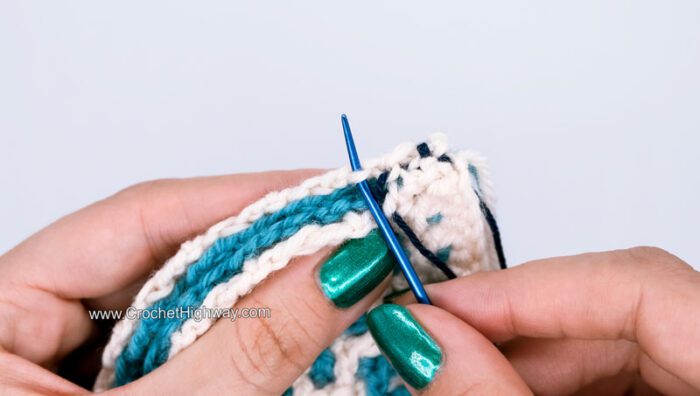
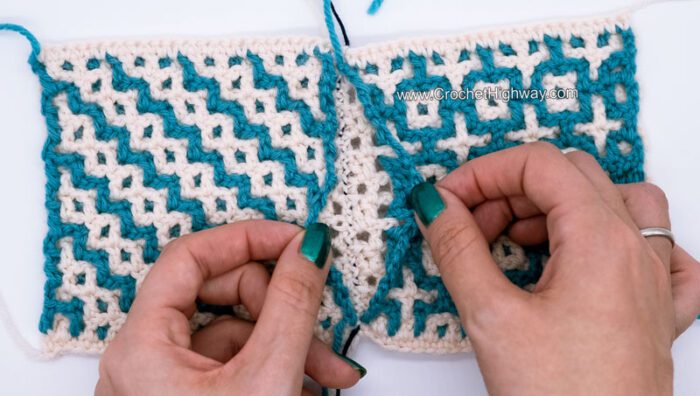
Every time you seam two segments of fabric, the two pieces that are seamed should measure the same. Nevertheless, the number of stitches across the two segments might not always be the same.

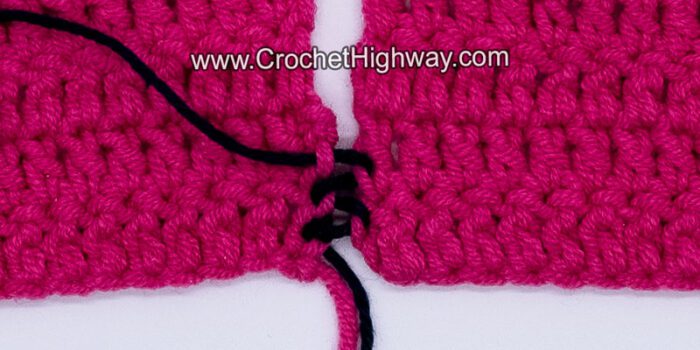
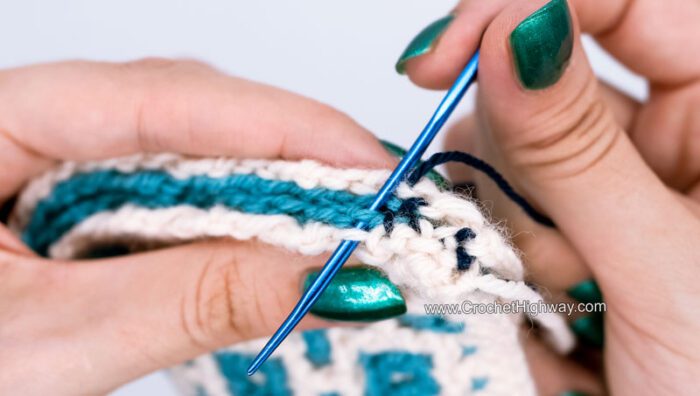
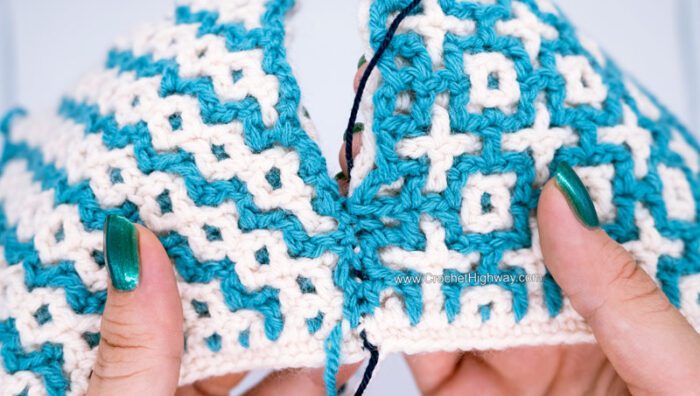
Let’s take the following case: You have to seam two pieces of fabric along the tops of the stitches from the last row worked on each piece, but the two fabric lengths don’t have the same number of stitches because they have been worked at different gauges.

The mathematical approach is to start by counting the stitches to be seamed together on each piece, then determining the difference in the number of stitches. You then take that difference and spread it equally across the segment to be seamed.

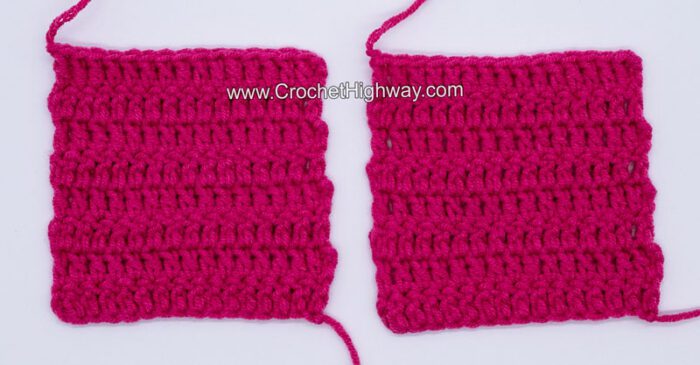
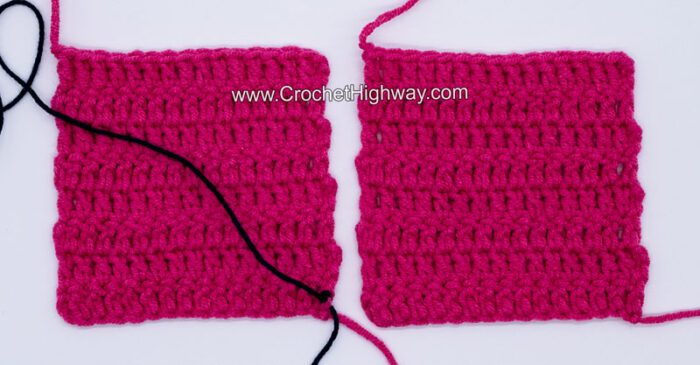
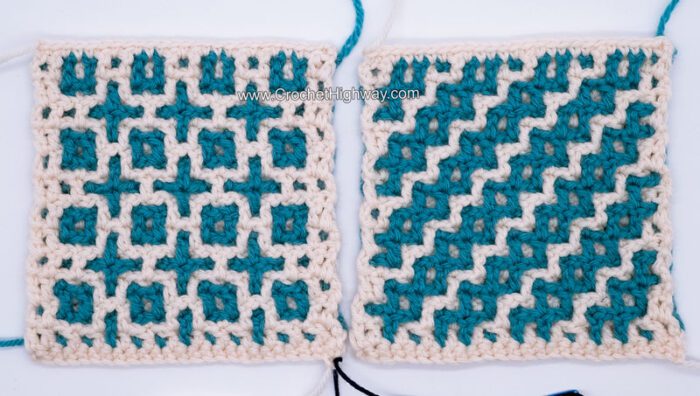
Let’s walk through a specific example with two pieces of fabric: piece A and piece B. Both have the same length when measured with a ruler.

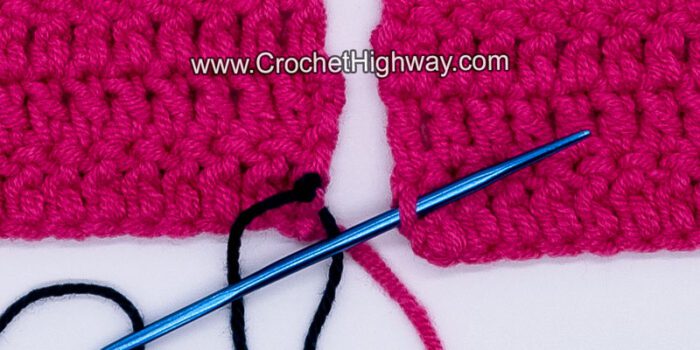
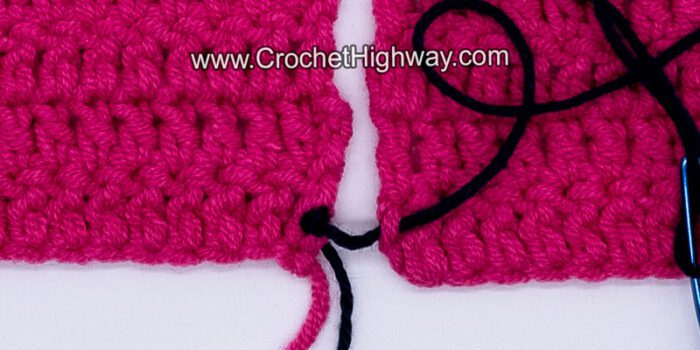
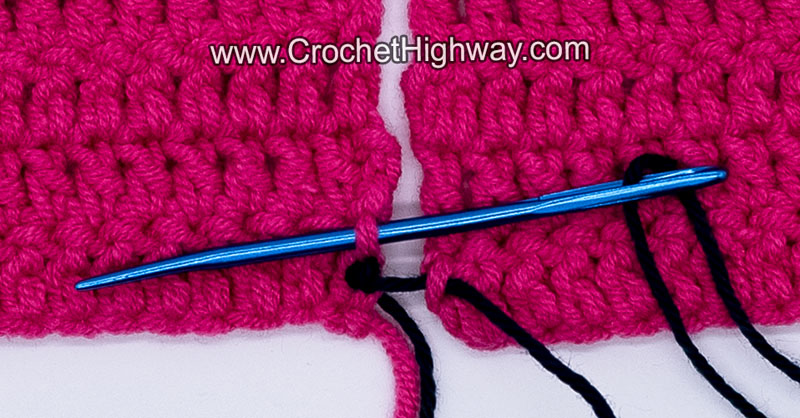
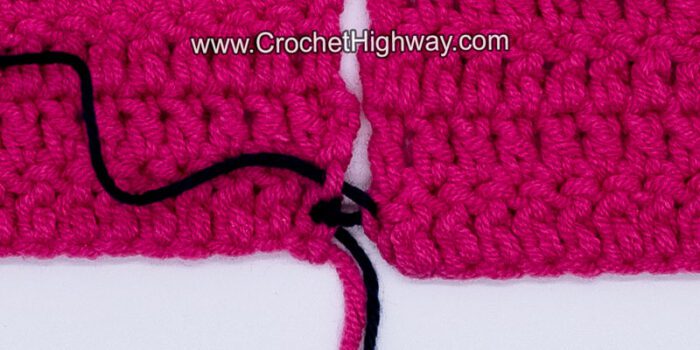
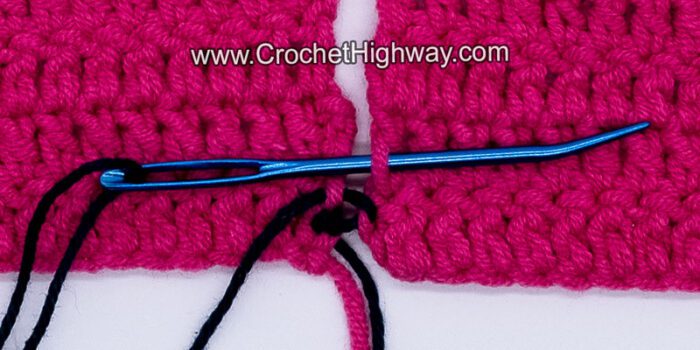
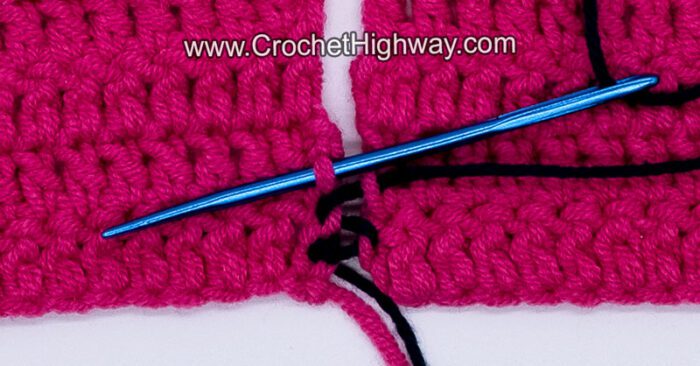
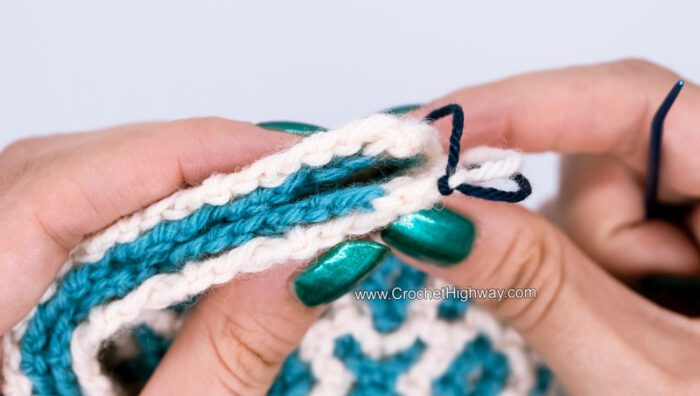
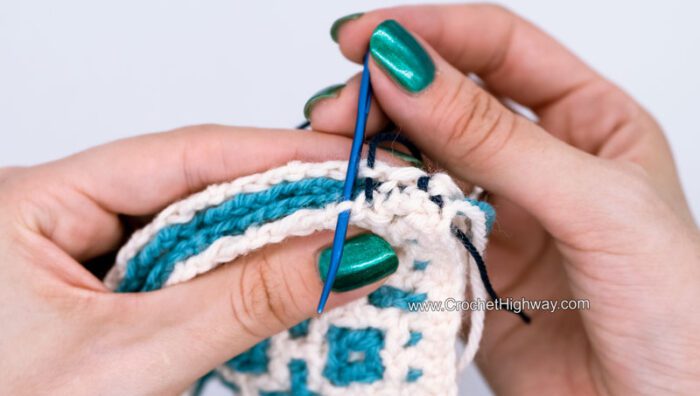
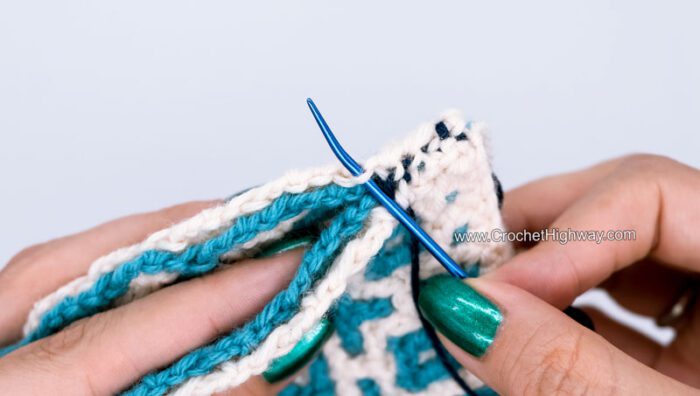
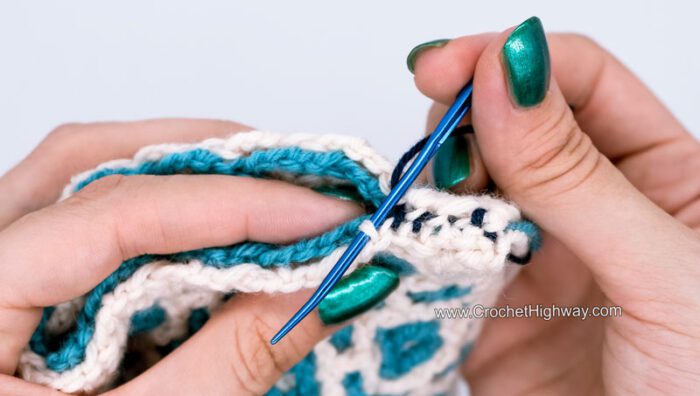
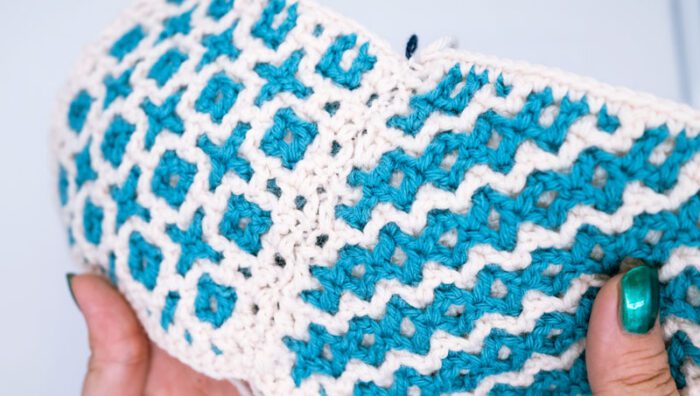
Piece A has 17 stitches along its edge, while piece B has only 12 stitches. The difference is 5 stitches that must be accounted for during seaming. The solution? It’s easy! When seaming, catch the same stitch twice on piece B approximately once every two to three stitches. In other words, two stitches from the longer piece will be seamed to the same stitch on the shorter piece. This distributes the five extra stitches evenly across the seam length, without causing any gaps or puckers.

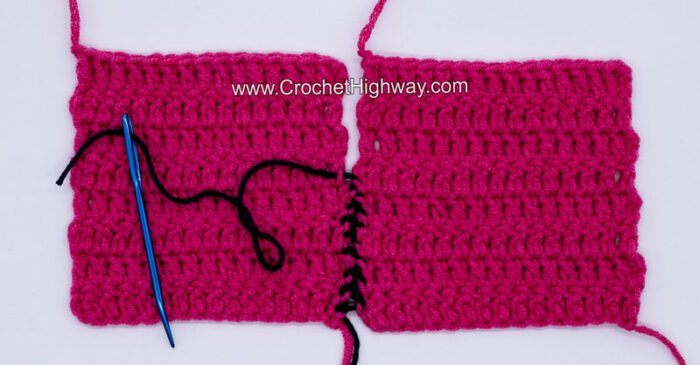
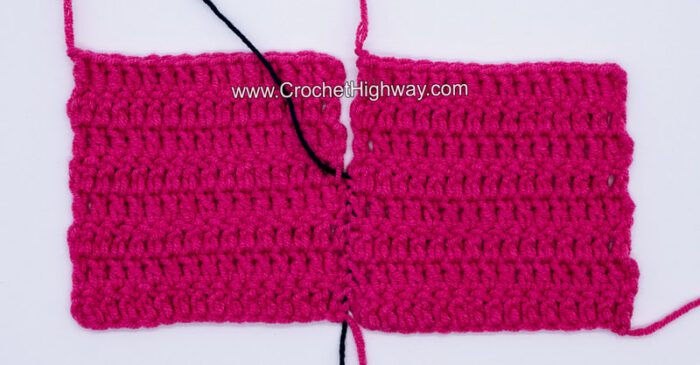
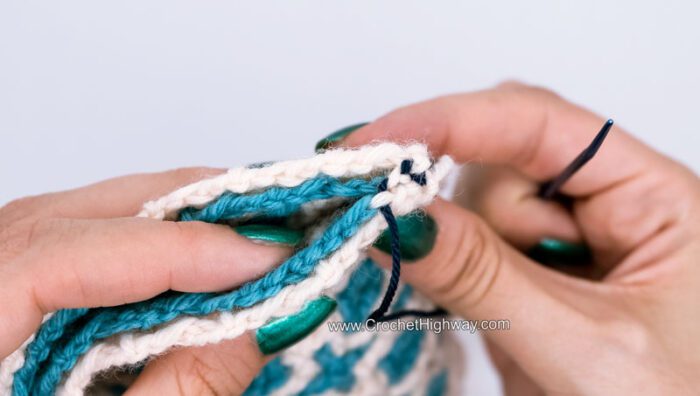
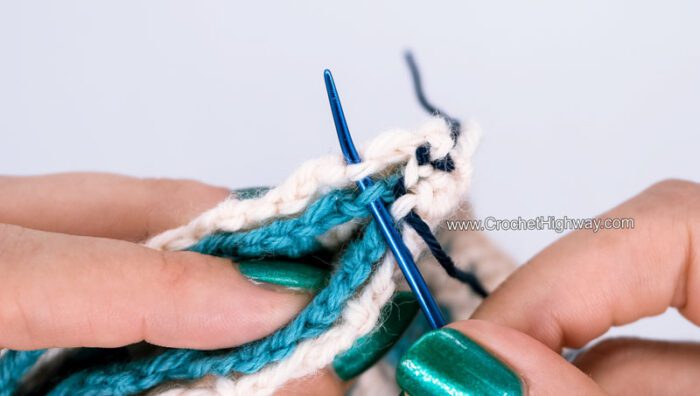
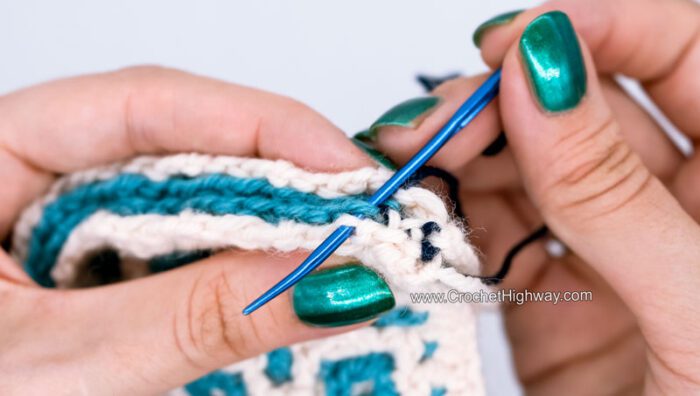
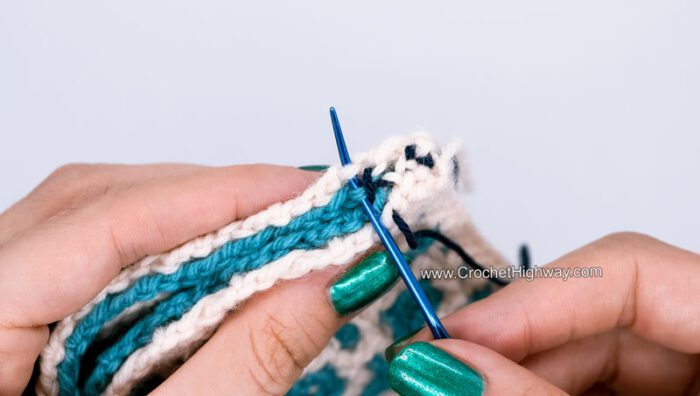
In practical terms, you don’t always need to perfectly distribute this stitch differential to a T. Simply pin the two pieces of fabric together, making sure there are no more than 3 inches (8 cm) of empty space between any two consecutive pins. Then, carefully and evenly seam each individual segment between pins, occasionally going through the same stitch twice on the side with fewer stitches, removing the pins as you go. Stop frequently to assess the evenness of your seam. Make sure the fabric does not gather, fold, or pucker in some places while being too tight or stretched out in others. Small ripples along the seam are sometimes normal and unavoidable and should go away after blocking.

Thirsty for more? Why not check out some of my recently published crochet patterns and tutorials:

Leave a Comment

Your email address will not be published. Required fields are marked *