Purchase the ad-free P D F version 
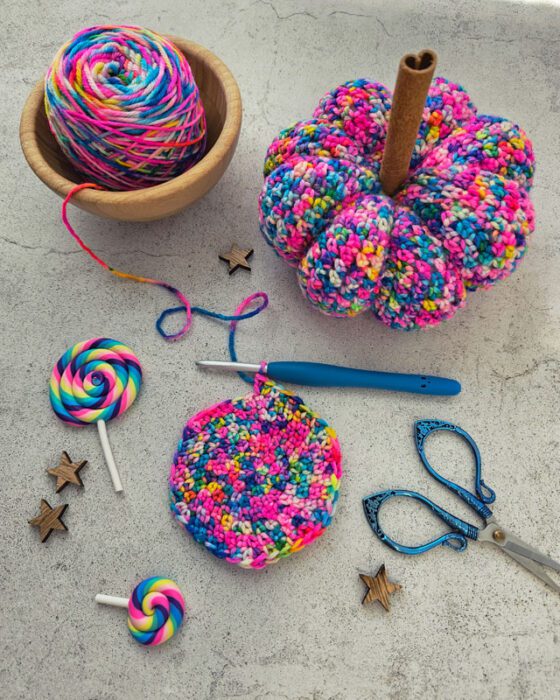
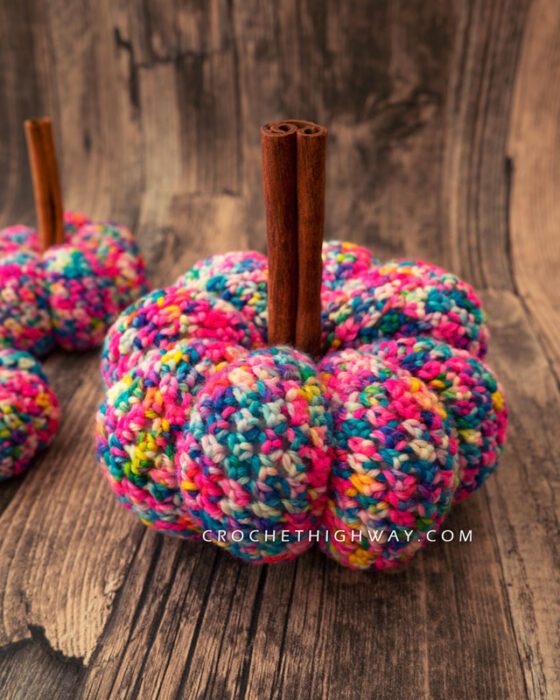
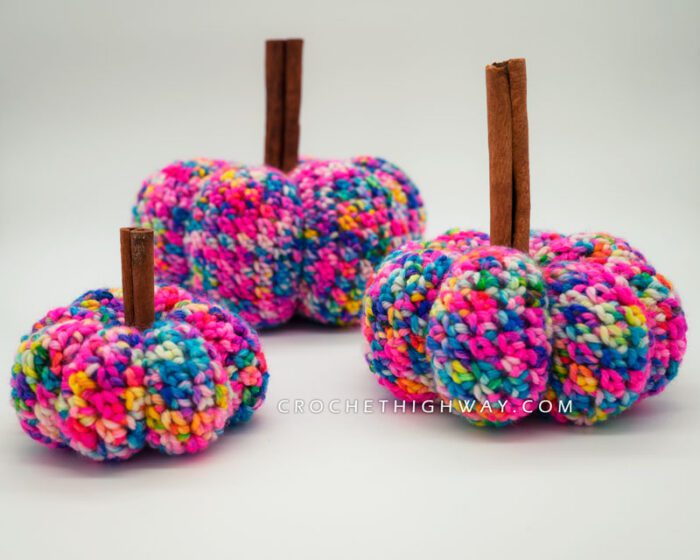

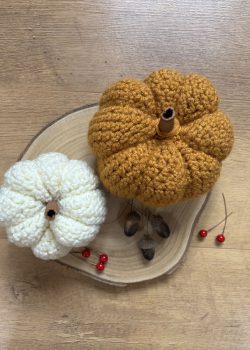


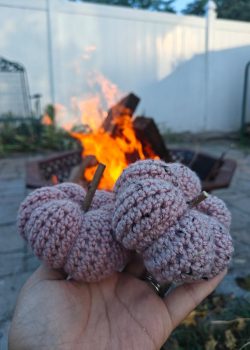
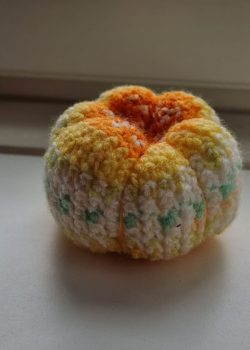
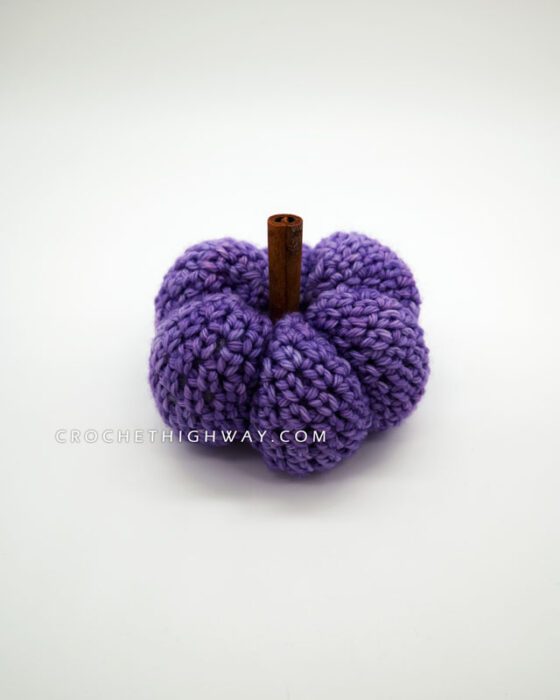
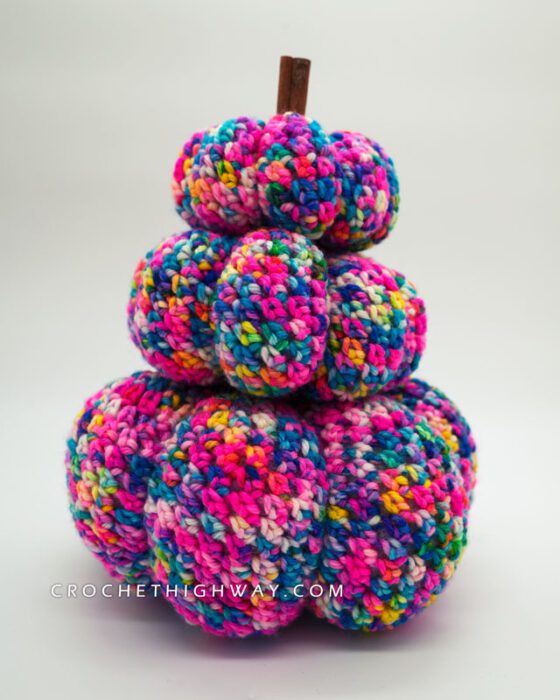
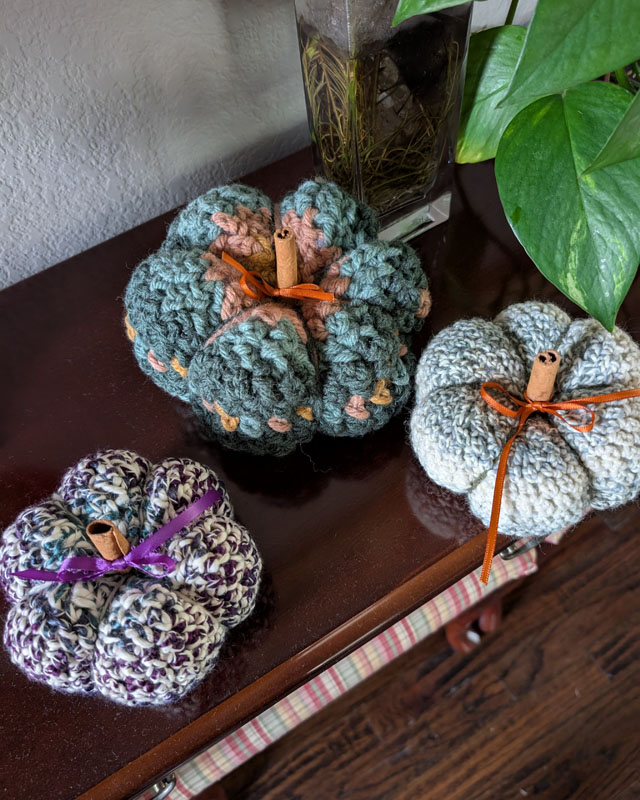
This pattern was so fun! Working in the round and using the same stitch throughout made it a breeze to make in the evenings to destress. I could have happily made many more pumpkins in this pattern.
Caitlin @divergentfibreart
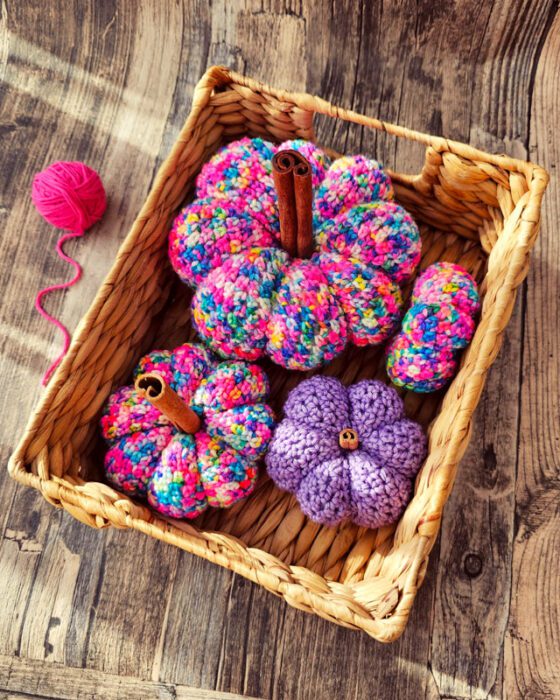
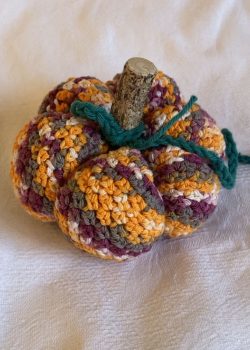
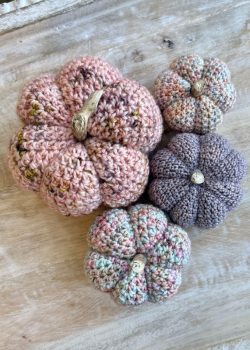
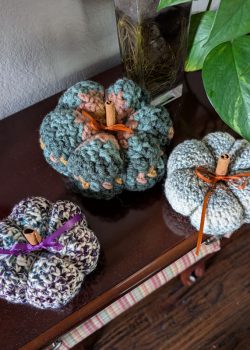
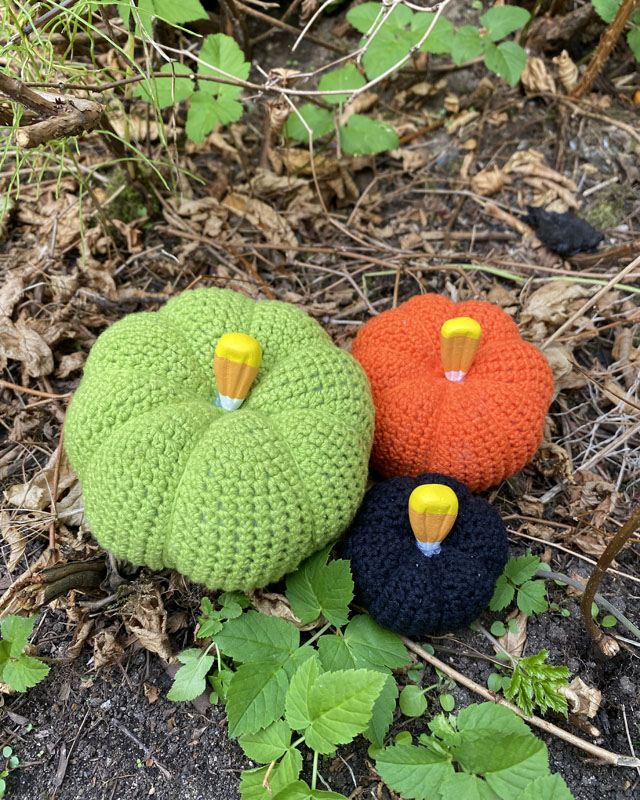
The amount of detail you put into your patterns is extraordinary! The photos and tips are placed in the perfect locations in the pattern and provide great guidance. The layout is clean and easy to follow along and even navigate back to a previous section. Thank you for having me along to test this creative pumpkin pattern!
Valerie @valstitchniche