 Furls Wander acrylic yarn or any worsted or aran weight yarn.
Your 5 mm hook. I used my limited-edition Furls Cruella Streamline crochet hook.
Yarn needle to weave in ends.
Scissors.
Purchase the ad-free P D F version 


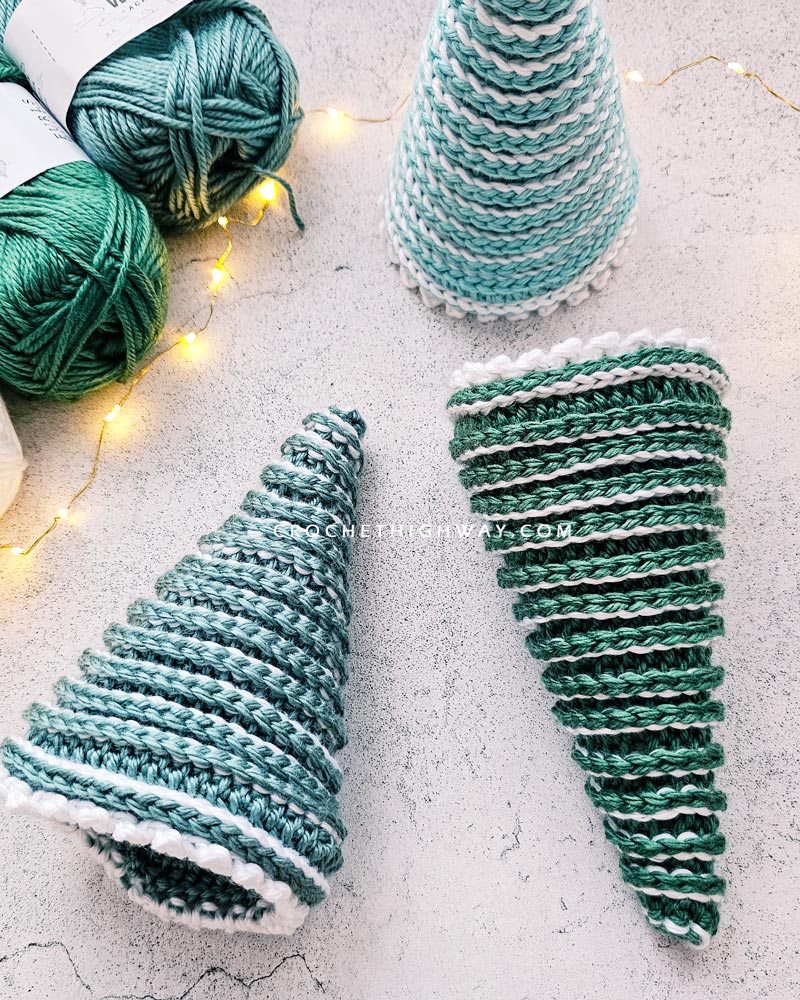
 Worsted weight yarn in 2 contrasting colors (40 yds for the tree and 20 yds for the snow detail); you can use ANY yarn weight, just adjust the hook size accordingly so that you end up with a dense fabric with no holes. 5 mm hook or appropriate hook size.
I used Furls Wander acrylic yarn in Arbor, Agave, and Peninsula for the main color, and Alabaster for the contrast color and my 6 mm limited-edition Furls Cruella Streamline crochet hook. Yarn needle to weave in ends. Scissors.


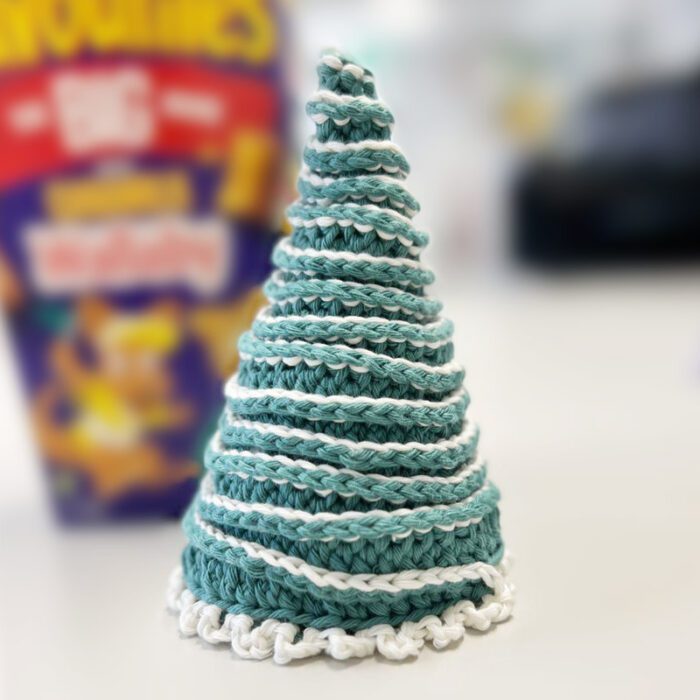
These are adorable. I’ve completed one for my mo to use as “wrap” for a wine bottle she’s gifting. She has requested a second for another friend.
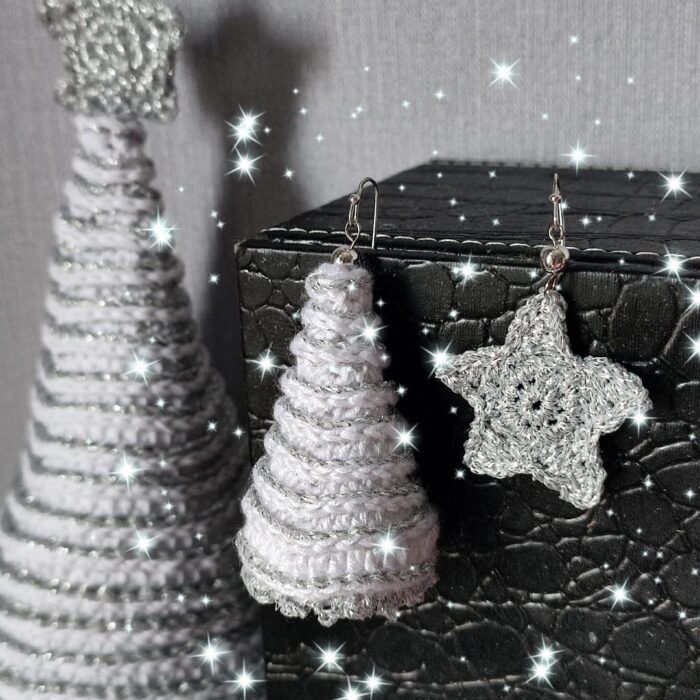
Great pattern with a new stitch for me. Easy, more modern take on the Christmas tree. I did it in white with silver metallic thread for the “snow”.