
Purchase the ad-free P D F version 


")
")
")


Purchase the ad-free P D F version
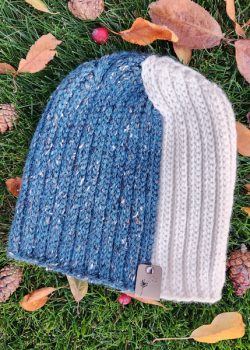
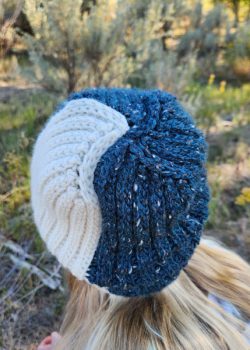
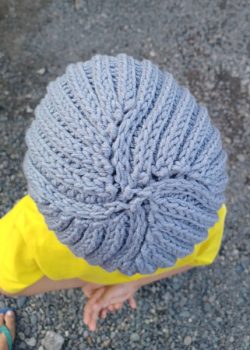
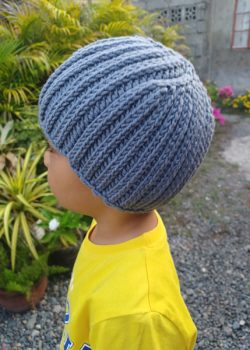
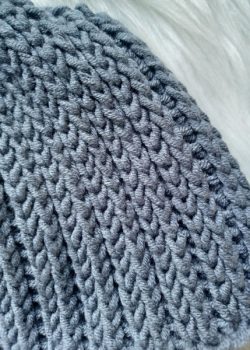
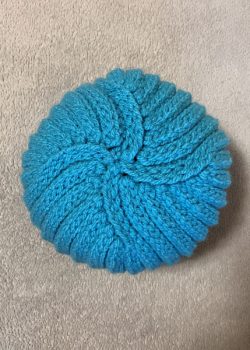
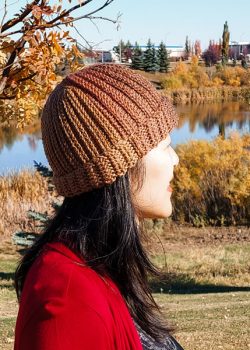
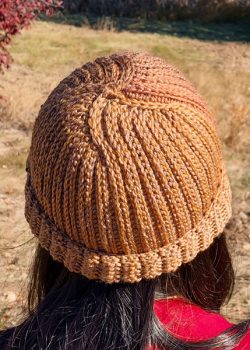
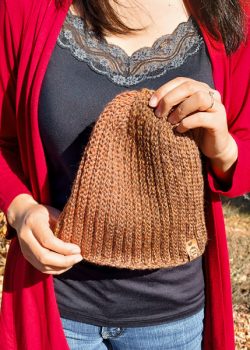
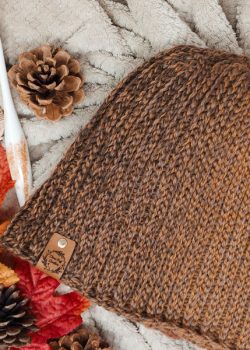
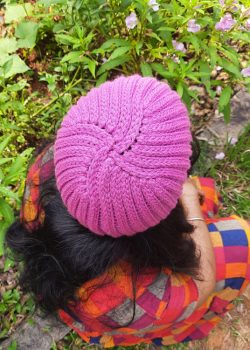
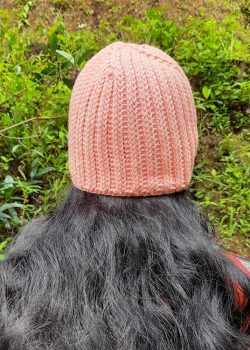
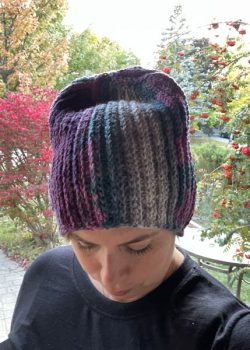
Thankyou so very much for this comprehensive and beautiful pattern. Cant wait to try it.