Tutorials
Step by step photo tutorials for stitches and techniques used in my patterns
Picking Your Size in Handmade Garments A guide on how to choose which size to make from any crochet or knitting pattern …
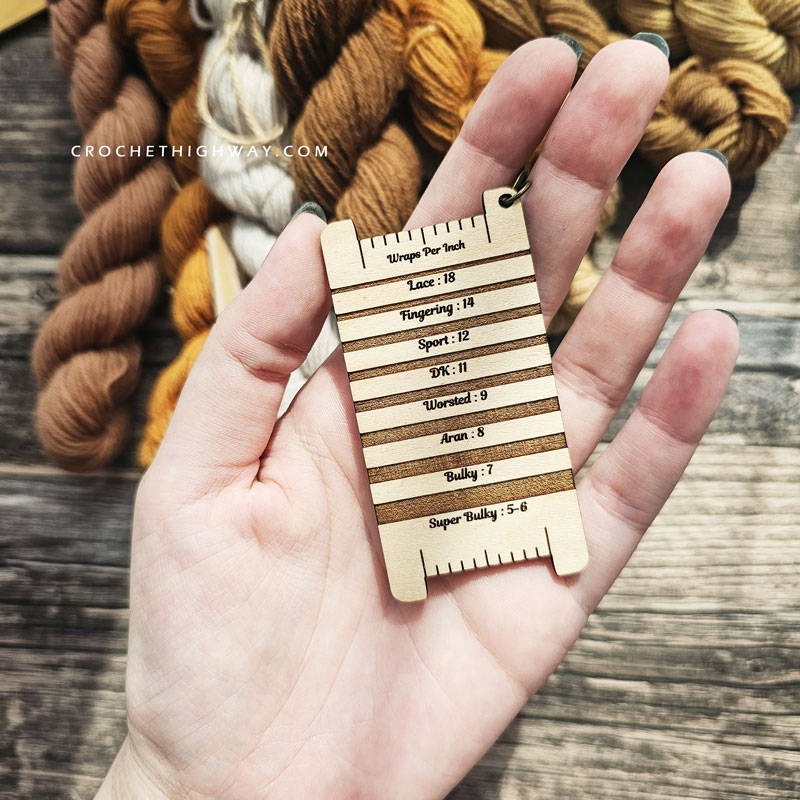
Everything you need to know about WPI (wraps per inch), why it matters, and how to measure it.
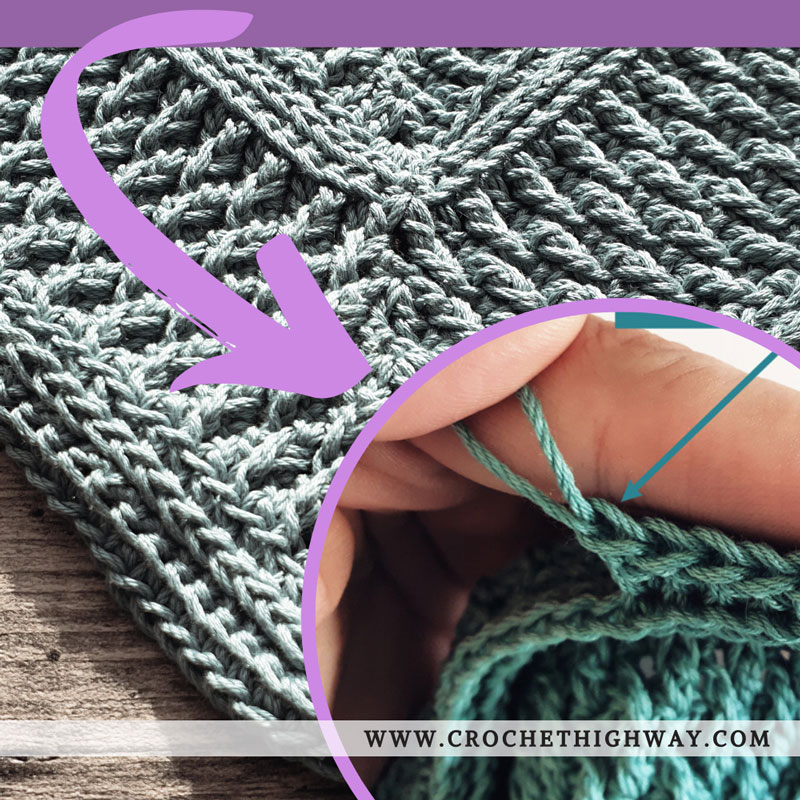
When crocheting in joined rounds, the invisible join method is a neat and easy way to end your rounds. It produces a seam that is way less noticeable than the regular "slip stitch to join" method and, depending on the particular stitch pattern, it can be 100% invisible! The photo tutorial below uses the single crochet stitch worked in back loop only (SC in BLO or bloSC) as an example, but the same method applies regardless of the stitch your pattern calls for!
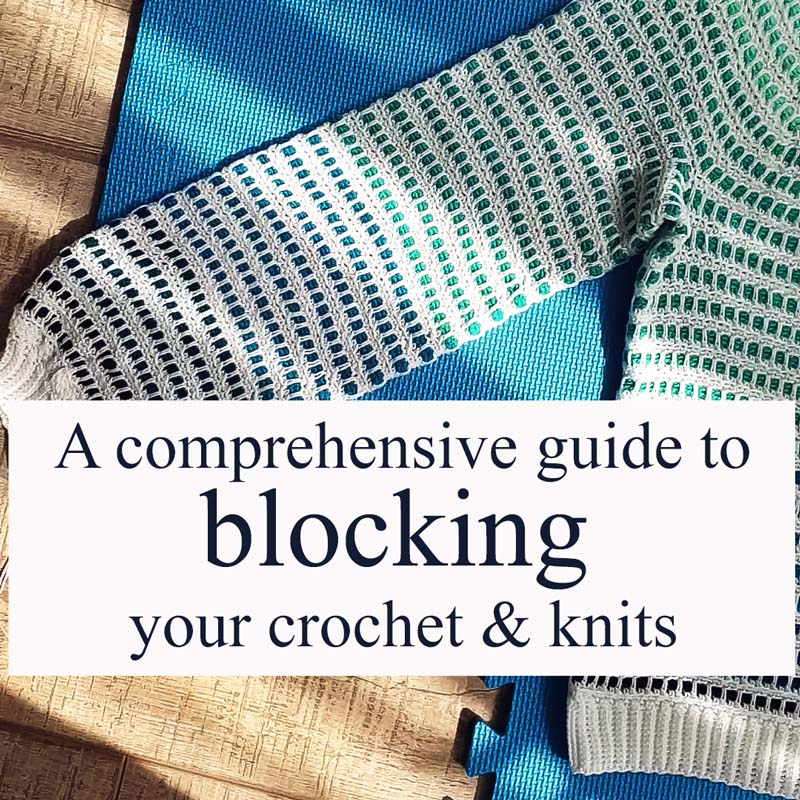
Welcome to my comprehensive guide about blocking, where I try to pull together everything I know and have researched about blocking in a succinct(ish) manner that will be an absolute pleasure for you to go over. Read all the way to the end for a bonus tip!
This tutorial shows you how to crochet ribbing directly onto your project. It's the perfect technique to add ribbing onto the body of your sweater, the neckline, the sleeves, but it also works great for other stuff too, like beanies, gloves, etc. Pretty much anything you want ribbing added to!
Sometimes, a pattern calls for you to turn your work after every round. While it's seemingly easy enough not to forget if you've turned or not, the situation becomes a little less clear when it's time for you to pick up your work again after you've put in on hold for a while. This occurs in particular when it's time to add the sleeves on a circular yoke or raglan sweater which is worked in turned rounds.
Have you ever worked on a crochet project before, set it aside for a while, only to completely forget what hook size you used on it? Or maybe you've been swatching for a new pattern test and can't remember which hook size you meet gauge with? You are not alone. I used to write the hook size for my projects and swatches on small pieces of paper and attach those to the fabric, but you know how it goes with disposable pieces of paper. They get lost and they're also not very pretty to look at. Enter, your DIY set of crochet hook sizes! If you're into crafts like I am, you probably already have all the supplies needed just sitting in your arsenal.
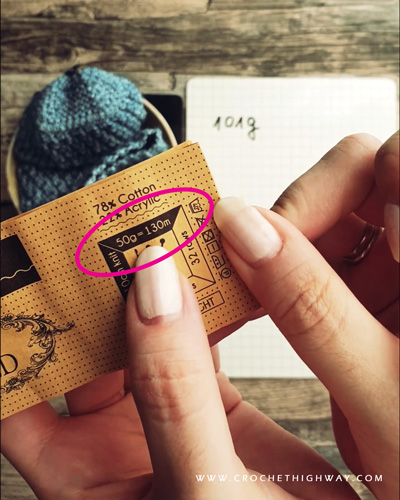
Get yardage right every time with this handy tutorial! Are you looking for a quick formula to calculate yardage for your crochet or knitting project? Follow this easy tutorial on how to calculate yardage and you will always remember how to do this calculation for all your future projects!
The linked double crochet stitch is a useful technique when you need to create a fabric with little to no gaps. The linked double crochet stitch (LDC) has the same height as the regular double crochet, but it's similar to a single crochet in terms of density. However, it isn't as stiff as a piece of fabric made entirely in SC, as it retains the drape of the regular DC.
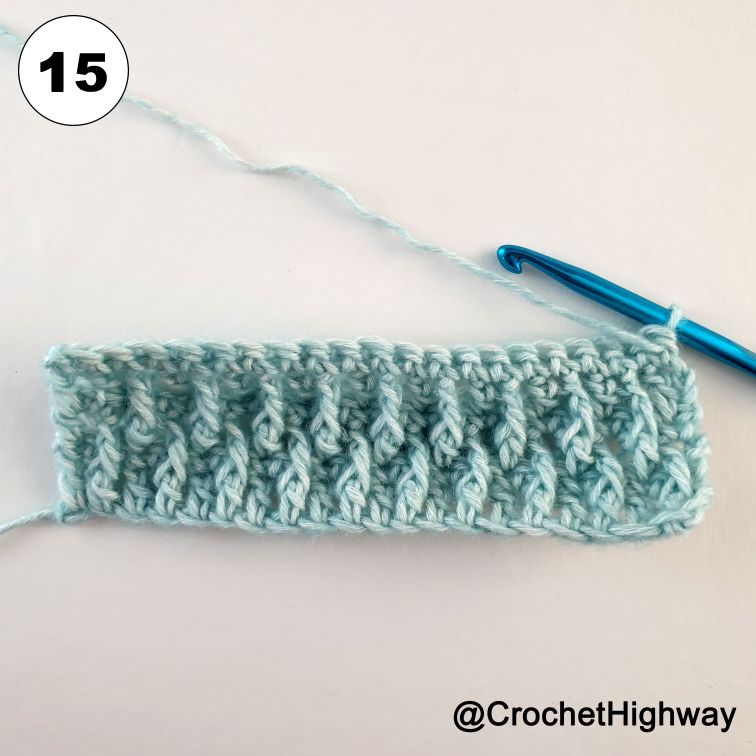
Ever wondered what the mysterious third loop is? Or perhaps you heard of the "extra" or "third back" loop and never knew why it's useful. Well, the third back loop of a half double crochet is just that, a third loop that is situated at the back of the stitch. It's important mainly because when working into this loop, the regular front and back loops of the half double crochet stitch remain empty, creating a beautiful braided look.
Also known as the half double crochet slip stitch, the yarn over slip stitch (YO SLST) is a great alternative when you need that beautiful braided look that a HDC has, without the height of a normal HDC.
The alpine stitch is a deceptively simple stitch which creates a stunning texture that is visible from afar. The alpine stitch is normally a 4-row repeat. In my patterns you’ll sometimes have to work complete repetitions of the 4 rows, or incomplete repetitions where you end the last repeat on the 2nd row.
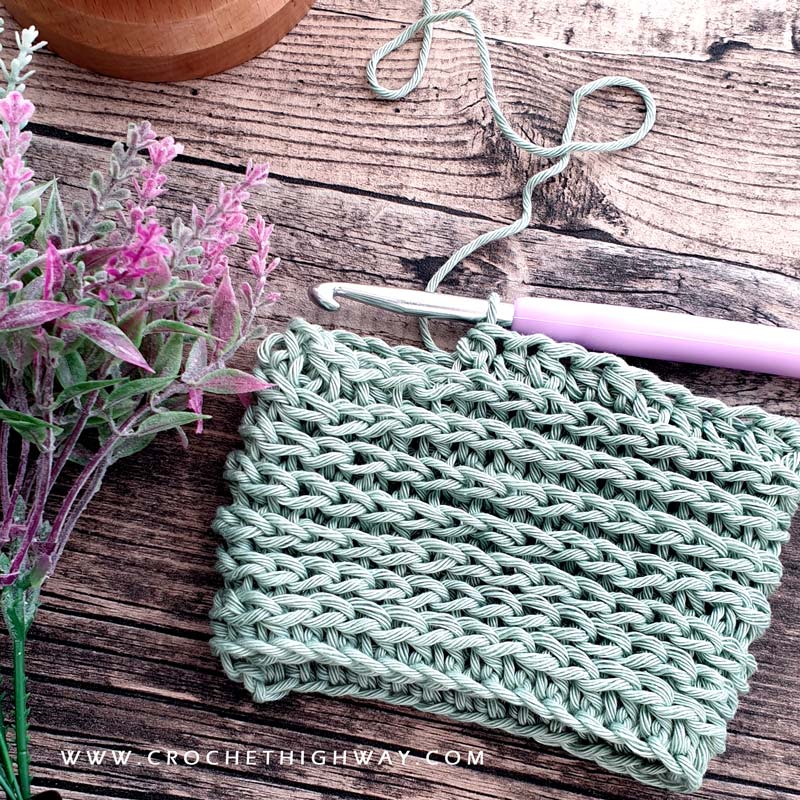
The waistcoat stitch, also known as the knit stitch, does a perfect job at masquerading as a knit stitch, however it is all created using our trusty crochet hook! The waistcoat stitch is a crochet stitch which, although a tiny bit nerve-racking at first, is a gorgeously textured and deceptively simple crochet stitch. If executed correctly, it quickly becomes a joy to crochet and you'll soon notice you start picking up speed and your wonderfully faux-knit projects will be ready in no time!
The Standing Double Crochet A crochet stitch tutorial Disclaimer: Some links on this page are affiliate links. This means that, if you …
Crochet Bead Stitch A crochet stitch tutorial Disclaimer: Some links on this page are affiliate links. This means that, if you click …

