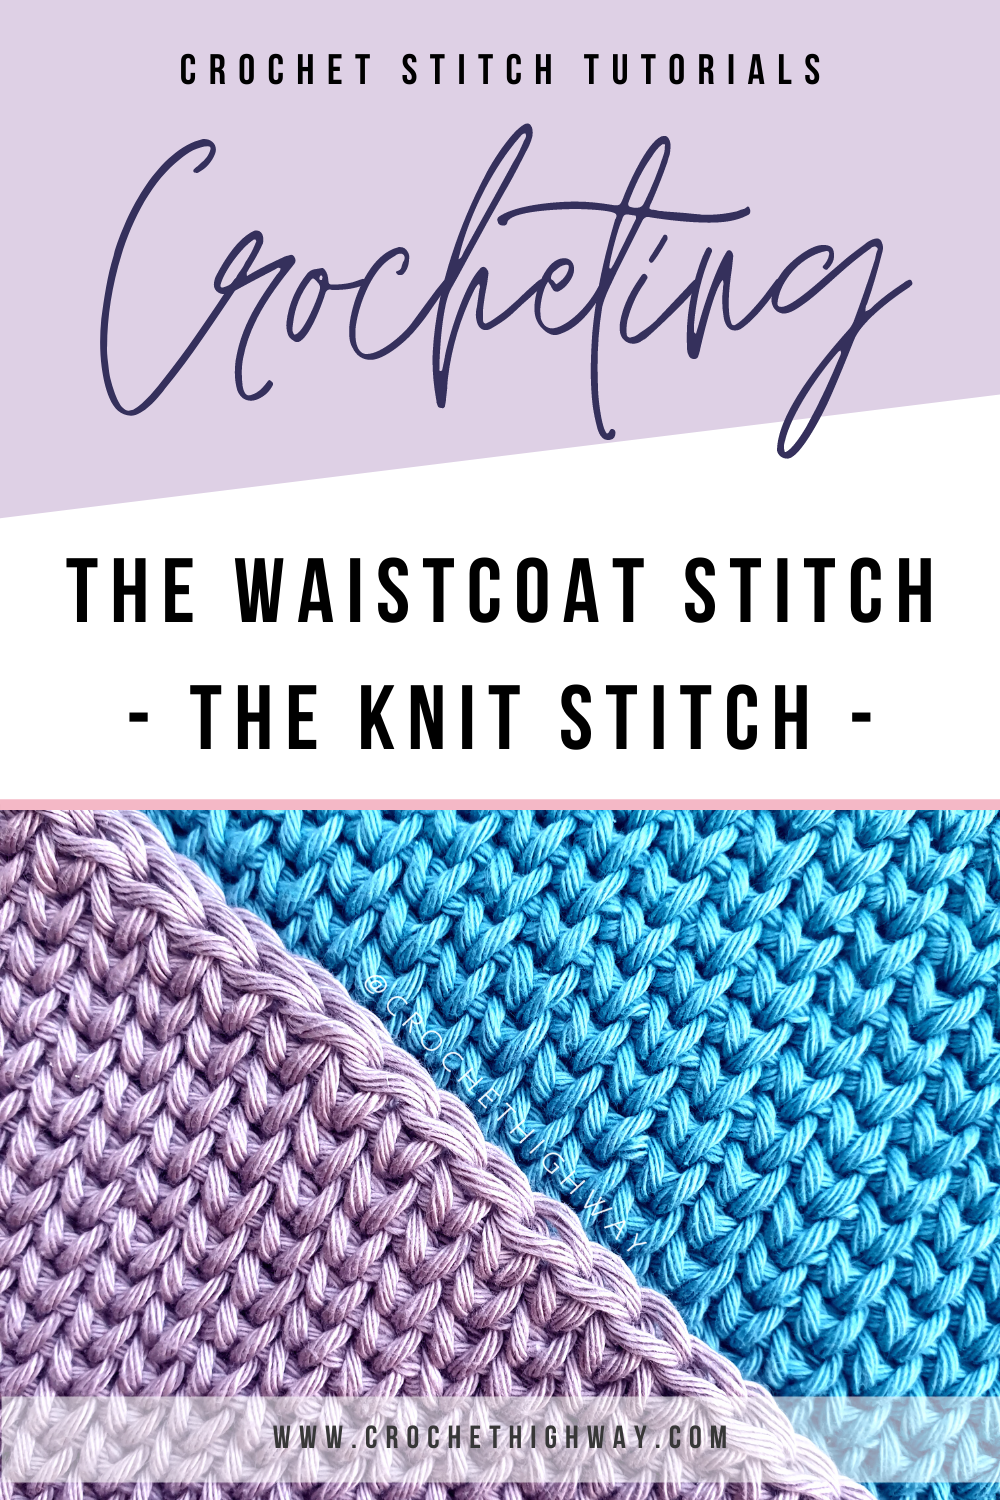
How to crochet the waistcoat stitch
The infamous crochet knit stitch is actually a very easy stitch to master.

The waistcoat stitch, also known as the knit stitch, does a perfect job at masquerading as a knit stitch, however it is all created using our trusty crochet hook! The waistcoat stitch is a crochet stitch which, although a tiny bit nerve-racking at first, is a gorgeously textured and deceptively simple crochet stitch. If executed correctly, it quickly becomes a joy to crochet and you’ll soon notice you start picking up speed and your wonderful faux-knit projects will be ready in no time!
Disclaimer: Some links on this page are affiliate links. This means that, if you click through the links and make a purchase, I will earn a small commission at no additional cost to you.
Step by step tutorial
This photo tutorial uses standard US crochet terminology.
The waistcoat stitch is a variation of the single crochet stitch. The only difference is where we insert the hook.
Pro tip: Use a pointy hook to help you get through the vertical bars.
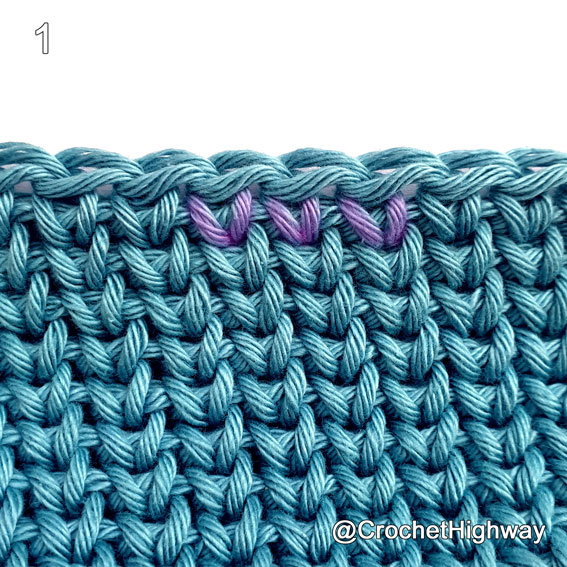
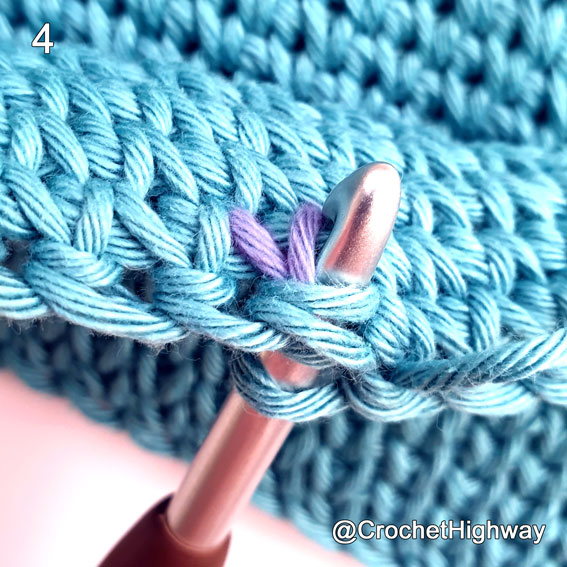
When viewed from the front, every single crochet stitch has 2 vertical bars that form a “V” shape (highlighted in magenta in photo 1).
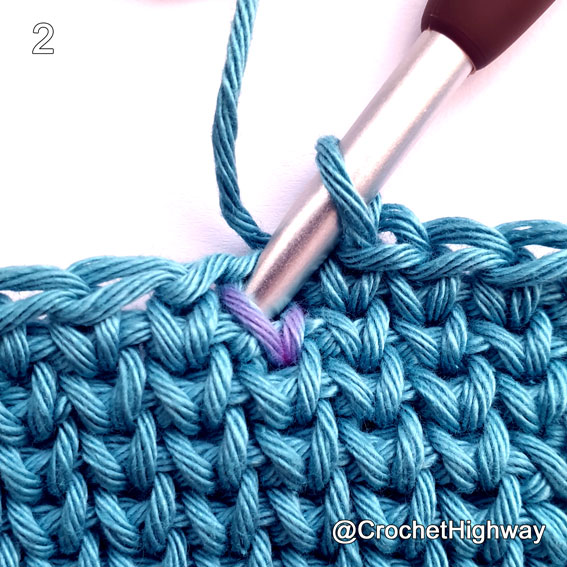
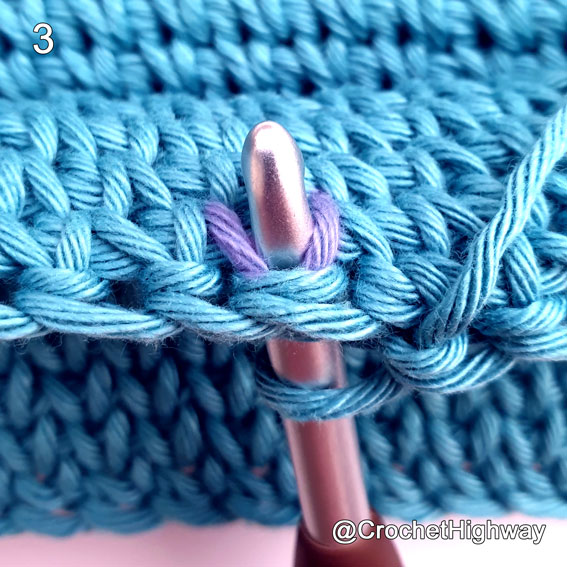
Step 1: Insert hook in between those bars (photo 2). You should be able to see your hook coming out from in between the two vertical bars on the back side of your work as well (photo 3). Photo 4 shows an example of a wrong placement of your hook.
Step 2: Yarn over and pull up a loop (the golden loop – photo 5). Pulling the golden loop higher than normal is crucial to allow you to easily insert your hook through this stitch when you’ll eventually come back to work into it the next round.
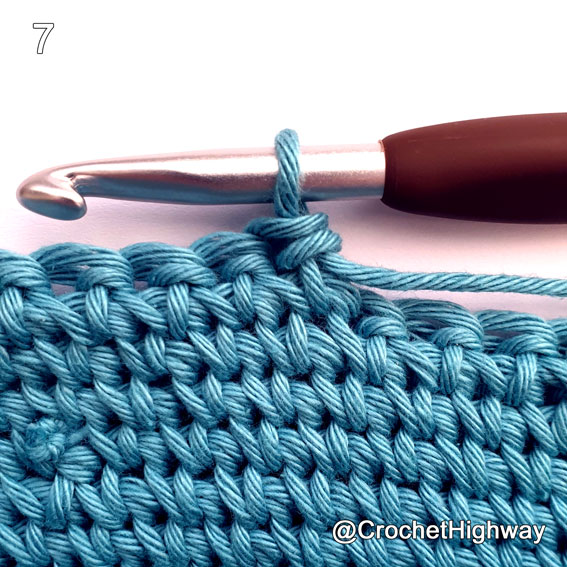
Step 3: Yarn over and pull through both loops (photo 6 – view from right side, photo 7 – view from wrong side).


And that’s it! That’s all there is to the waistcoat stitch, also known as the knit stitch in crochet.
Bonus tip! Since the tension is very different than most crochet stitches, hook size doesn’t matter as much as it does with other stitches. You’re going to exaggerate that first loop so much, it won’t matter how big or small your hook is. I prefer smaller hooks because it’s easier to jam them in between the vertical bars!
By following these easy steps, you’ll find that the waistcoast stitch is incredibly easy to do. All you need to remember is to exaggerate the height of the golden loop, and do it consistently!
It takes a bit of practice, but once you get the hang of it, I guarantee you’ll love it! The beautiful faux-knit texture it creates is all worth it 💙
Check out this super quick YouTube tutorial I put together to demonstrate this stitch:
While you’re here, check out some of my recently published crochet patterns!
Thank you for this tutorial! I need all the help I can get to do your beautiful patterns!